 Save
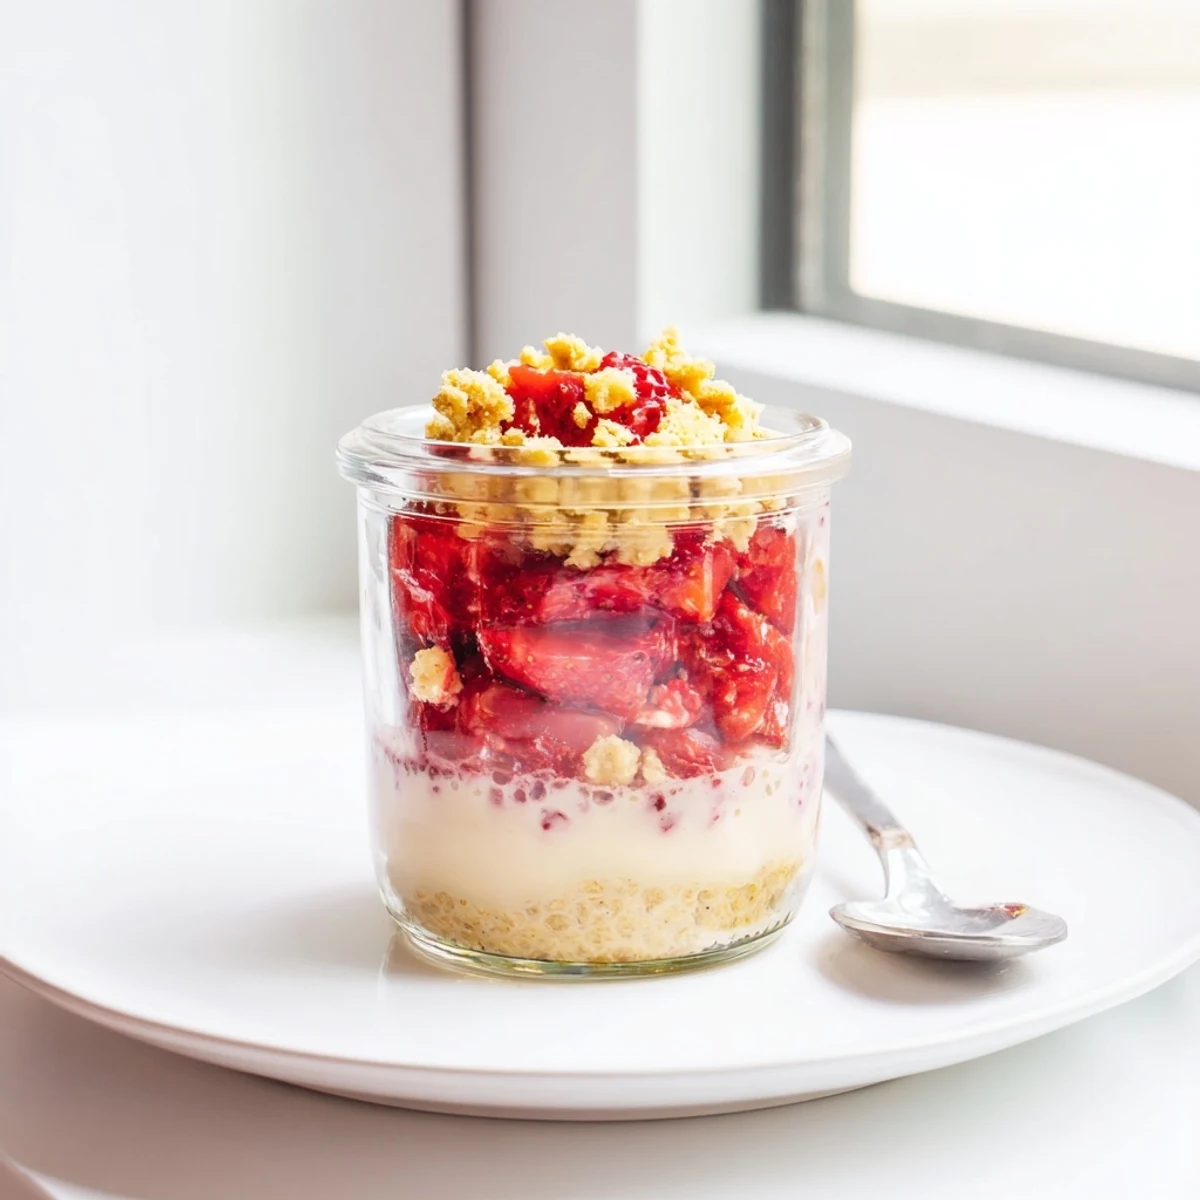
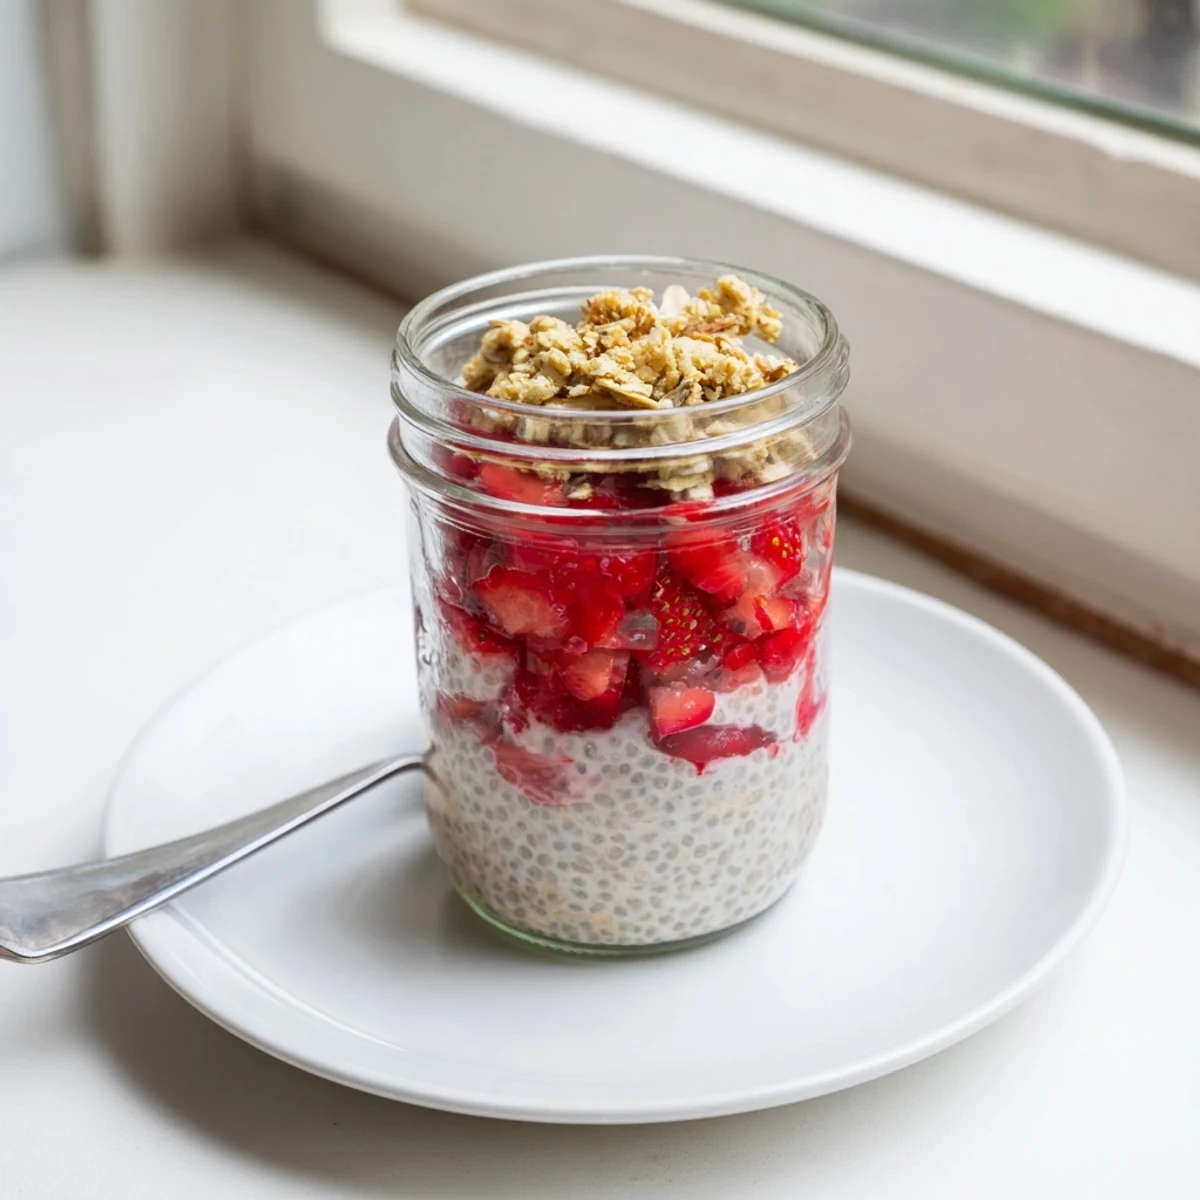
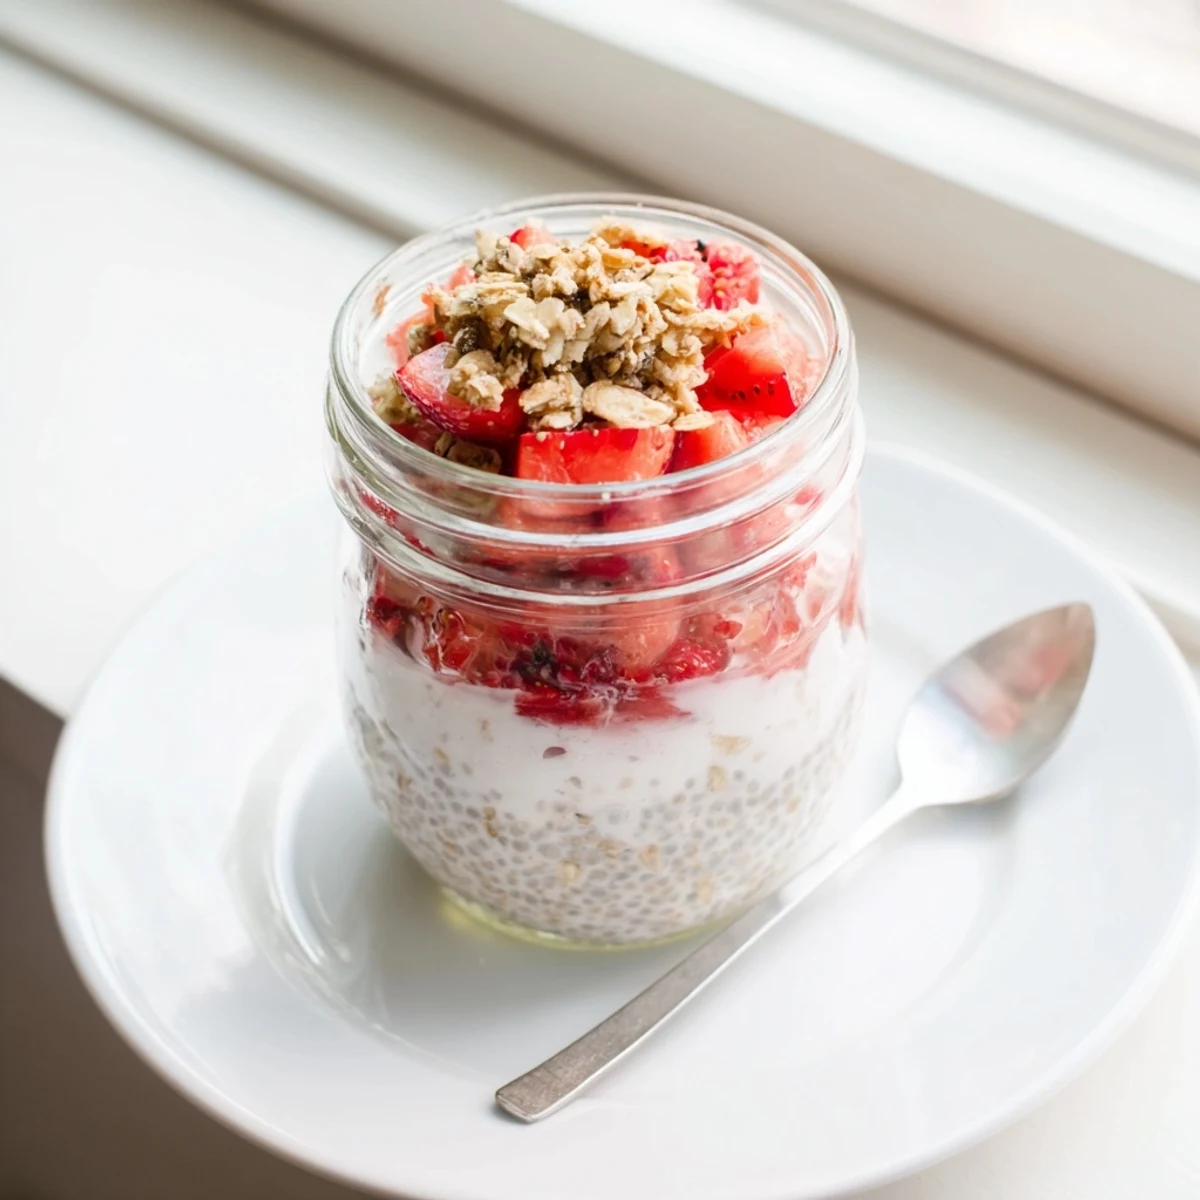
Save This elegant layered dessert combines the creaminess of vanilla-infused chia pudding with naturally sweet strawberries and a golden, buttery oat crumble. The pudding develops its silky texture after several hours of refrigeration, while fresh berries macerate in lemon juice and sweetener. The crumble topping bakes until perfectly crunchy and golden, creating irresistible texture contrast. Each spoonful delivers creamy, juicy, and crispy elements that feel indulgent yet wholesome.
The summer my neighbor handed me a basket of strawberries still warm from her garden, I stood in the kitchen eating half of them before deciding the rest deserved something better than just disappearing into my mouth. That is how this layered chia pudding came to life: ripe berries, a crumble that smells like childhood oatmeal cookies, and a creamy base that sets itself while you go about your day.
I brought jars of this to a friend's rooftop potluck and watched three people scrape the glass clean with their spoons, then ask if I had made extras. One of them now texts me every Saturday asking if the crumble is ready.
Ingredients
- Unsweetened almond milk (400 ml): The neutral base lets the vanilla and berries shine. Any milk works, but almond keeps it light.
- Chia seeds (5 tbsp): They transform liquid into pudding almost like magic. Whisk them well to avoid stubborn little clumps.
- Maple syrup or honey (2 tbsp for pudding, 1 1/2 tbsp for crumble): Maple adds a gentle caramel note that pairs perfectly with strawberries.
- Vanilla extract (1 tsp): A small amount rounds out the flavor. Do not skip it.
- Fresh strawberries (300 g): Use the ripest you can find. Their natural sweetness means you need less added sugar.
- Lemon juice (1 tbsp): Brightens the berry layer and pulls out their juices.
- Sugar or maple syrup (1 to 2 tbsp): Adjust based on how sweet your berries already taste.
- Gluten free rolled oats (60 g): The backbone of the crumble. Rolled oats give a chewier, more satisfying bite than instant ones.
- Almond flour (30 g): Helps the crumble hold together and adds a subtle nuttiness.
- Coconut oil or unsalted butter, melted (2 tbsp): Coconut oil keeps it vegan. Butter gives a richer, deeper flavor.
- Salt (pinch): Just enough to balance the sweetness and make the oat flavor pop.
Instructions
- Wake up the chia:
- Pour the almond milk into a bowl, add chia seeds, maple syrup, and vanilla, then whisk like you mean it. Wait ten minutes and whisk again because those seeds love to clump at the bottom when you are not looking.
- Let it nap in the fridge:
- Cover the bowl and tuck it into the refrigerator for at least three hours, or leave it overnight if you are the plan ahead type. It should be thick enough to hold a spoon upright.
- Macerate the berries:
- Toss the diced strawberries with lemon juice and your sweetener of choice in a bowl, then step back and let the acid and sugar draw out those gorgeous pink juices.
- Build the crumble:
- Preheat your oven to 180 degrees Celsius. Stir oats, almond flour, melted coconut oil, maple syrup, and salt together until the mixture looks like wet sand with pebbles.
- Bake until golden:
- Spread the crumble on a parchment lined baking sheet and bake for 12 to 15 minutes, stirring once halfway through. Your kitchen will smell incredible and that is how you know it is done.
- Layer it all up:
- Spoon chia pudding into glasses, add a generous layer of strawberries and their juices, then scatter crumble on top. Repeat the layers if your glass is tall enough, always finishing with that crunchy crown.
 Save
Save Somewhere between the second and third jar at that rooftop dinner, someone said this tasted like summer vacation in a glass, and I realized that was exactly the feeling I had been chasing.
Swaps and Seasons
When strawberry season fades, try this with smashed raspberries, halved cherries, or even diced mango. The chia pudding base is a blank canvas, so let whatever looks best at the market guide you.
Make Ahead Friendly
You can prepare the pudding and crumble up to two days in advance and keep them stored separately. The strawberries are best macerated the same day, though leftover assembled jars still taste wonderful the next morning for breakfast.
Serving and Storage
Assemble everything right before serving for the most satisfying crunch.
- Keep the crumble in an airtight container at room temperature so it stays crisp.
- Leftover jars last two days in the fridge but the topping will soften over time.
- A spoonful of Greek yogurt tucked between layers makes it feel like a proper breakfast.
 Save
Save This is the kind of recipe that turns a random Tuesday into something worth savoring. Share it with someone who deserves a little extra sweetness today.
Recipe FAQs
- → How long does chia pudding need to set?
-
The chia pudding requires at least 3 hours in the refrigerator to thicken properly, though overnight chilling yields the best creamy consistency. The seeds absorb the liquid and expand during this time.
- → Can I prepare this dessert in advance?
-
Yes, all three components can be made ahead. Store the pudding and strawberries separately in the refrigerator for up to 3 days. Keep the crumble in an airtight container at room temperature for 1 week. Assemble just before serving to maintain texture.
- → What other fruits work well in this dessert?
-
Seasonal berries like blueberries, raspberries, or blackberries make excellent substitutes. Sliced peaches, mangoes, or even poached pears work beautifully with the creamy chia base and crunchy crumble.
- → How do I make the crumble vegan?
-
Simply substitute melted coconut oil or vegan butter for the unsalted butter in the crumble topping. Use maple syrup instead of honey throughout the entire dessert. Ensure your rolled oats are certified gluten-free if needed.
- → Can I use different milk for the chia pudding?
-
Any unsweetened milk works wonderfully—try coconut milk for extra richness, oat milk for creaminess, or soy milk for higher protein content. The chia seeds will thicken whatever liquid you choose.
- → Why does my chia pudding get clumpy?
-
Clumping occurs when chia seeds aren't whisked thoroughly initially. Whisk vigorously for 30 seconds, let sit for 10 minutes, then whisk again. This ensures even distribution and prevents gelatinous clumps from forming.