 Save
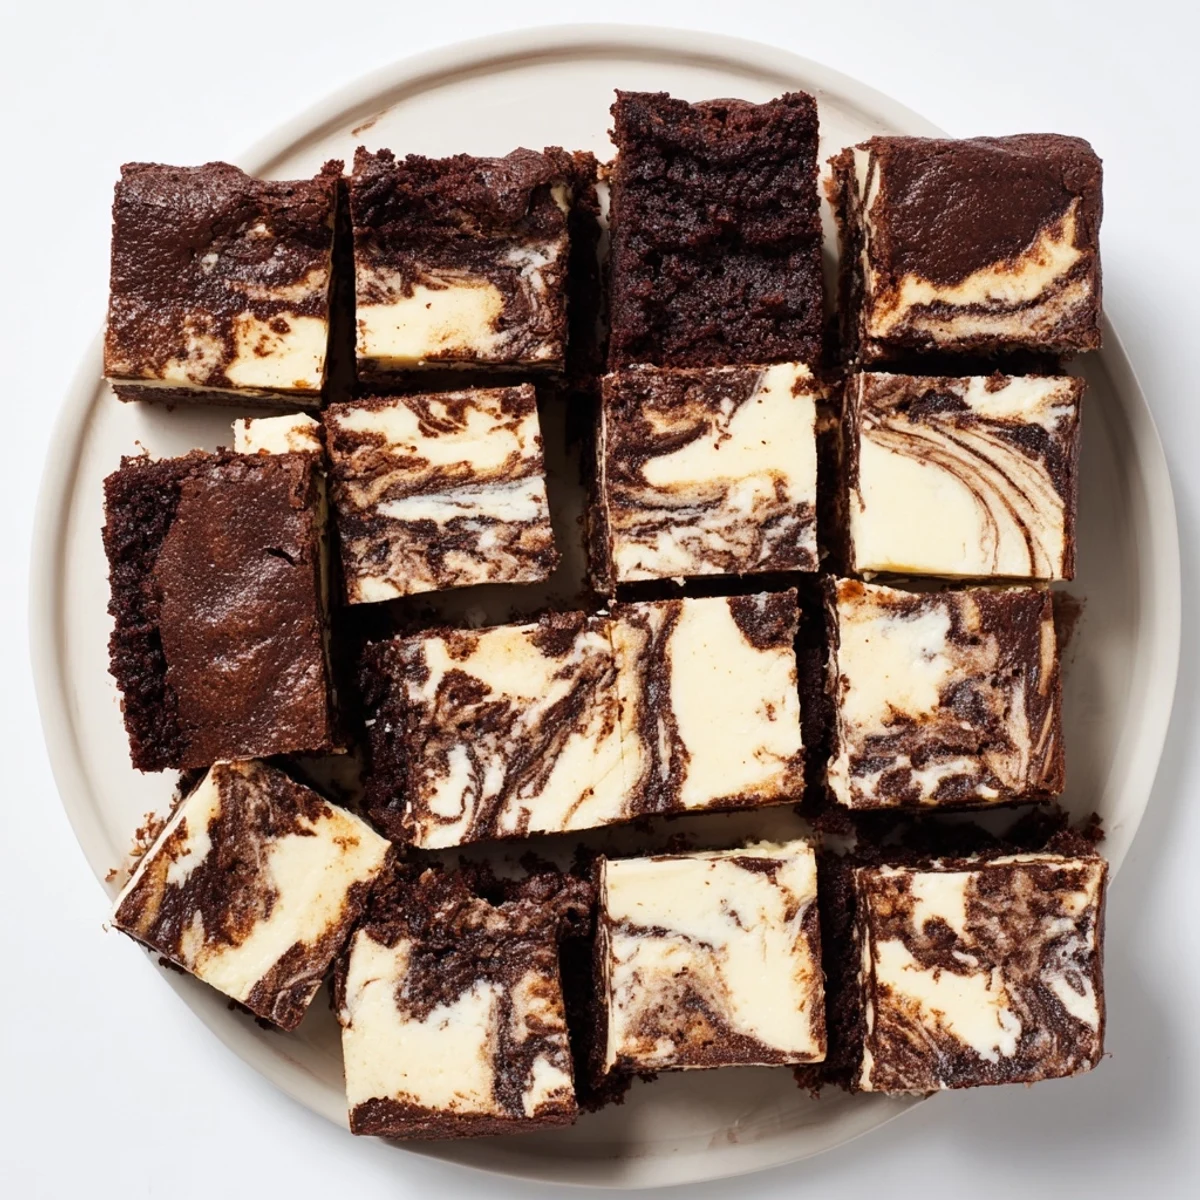
Save These indulgent bars combine the best of both worlds with a rich, fudgy chocolate brownie base enhanced by the subtle tang of sourdough discard. A creamy cheesecake layer gets swirled throughout creating beautiful marbled patterns and adding delightful contrast to each bite. The process involves mixing two separate batters, layering them in a pan, then creating that signature swirl with a simple knife technique.
What makes these special is how the sourdough discard adds depth and complexity without overwhelming the classic chocolate-cheesecake combination. The result is an incredibly moist, dense treat with perfect balance between sweet and tangy notes. Chill time is crucial for clean slices and allows flavors to meld together beautifully.
The rainy Tuesday I decided to use up a jar of neglected sourdough discard ended up birthing one of the best things my kitchen has ever produced. I was standing in pajamas, spoon deep in a haphazard cheesecake situation, when the smell of cocoa and browned butter started filling the apartment and my roommate appeared in the doorway asking what sorcery was happening. These brownie bars walk the line between gooey fudge and tangy cheesecake with a subtle sourdough depth that makes people pause and ask what that flavor is. They have no idea it started as a desperate attempt to avoid throwing away starter.
I brought a pan of these to a potluck where three people asked for the recipe before they even finished their first bar. One friend stood over the tray with a napkin, guarding her second piece from anyone who got too close. That reaction alone was worth every smear of cream cheese on my countertops.
Ingredients
- 115 g unsalted butter, melted: Browned butter takes this to another level, but straight melted works beautifully if you are short on time.
- 150 g granulated sugar: This amount gives a fudgy center without making them cloyingly sweet.
- 2 large eggs plus 1 large egg (for cheesecake): Room temperature eggs blend more smoothly into both batters and prevent streaks.
- 100 g sourdough discard (unfed): This is the star that adds complexity, and it works best when your discard is at least a few days old for more pronounced tang.
- 1 tsp plus 1/2 tsp vanilla extract: Split between the two layers, the vanilla bridges the chocolate and cream cheese flavors together.
- 60 g all-purpose flour: Go light on mixing once the flour goes in to keep the crumb tender.
- 40 g unsweetened cocoa powder: Use a good quality one because it carries the entire brownie layer.
- 1/4 tsp fine sea salt: Salt in brownies is nonnegotiable and makes the chocolate taste like itself.
- 200 g cream cheese, softened: Leave it out for an hour or microwave in ten second bursts, because cold cream cheese will leave you with lumpy batter.
- 60 g granulated sugar (for cheesecake layer): Keep this separate from the brownie sugar so each layer tastes distinct.
Instructions
- Preheat and prep the pan:
- Set your oven to 175 degrees C (350 degrees F) and line a 20 by 20 cm baking pan with parchment paper, leaving flaps hanging over the edges so you can lift the whole slab out later without a fight.
- Build the brownie batter:
- Stir melted butter and sugar together in a large bowl until they look like wet sand, then whisk in the eggs, sourdough discard, and vanilla until everything is smooth and slightly glossy.
- Fold in the dry ingredients:
- Sift the flour, cocoa powder, and salt directly into the bowl and fold gently with a spatula until you no longer see dry streaks, then stop immediately to protect that fudgy texture.
- Whip up the cheesecake layer:
- In a separate bowl, beat the softened cream cheese and sugar until perfectly smooth with no lumps hiding in the corners, then blend in the egg and vanilla until silky.
- Layer and swirl:
- Spread roughly three quarters of the brownie batter in the pan, pour the cheesecake mixture evenly on top, dollop the remaining brownie batter in scattered spoonfuls, and drag a skewer through in wide figure eights to create a marbled pattern that looks effortlessly beautiful.
- Bake until just set:
- Bake for 32 to 36 minutes until the center has a slight, barely perceptible wobble and a toothpick comes out with moist crumbs clinging to it rather than wet batter.
- Cool, chill, and slice:
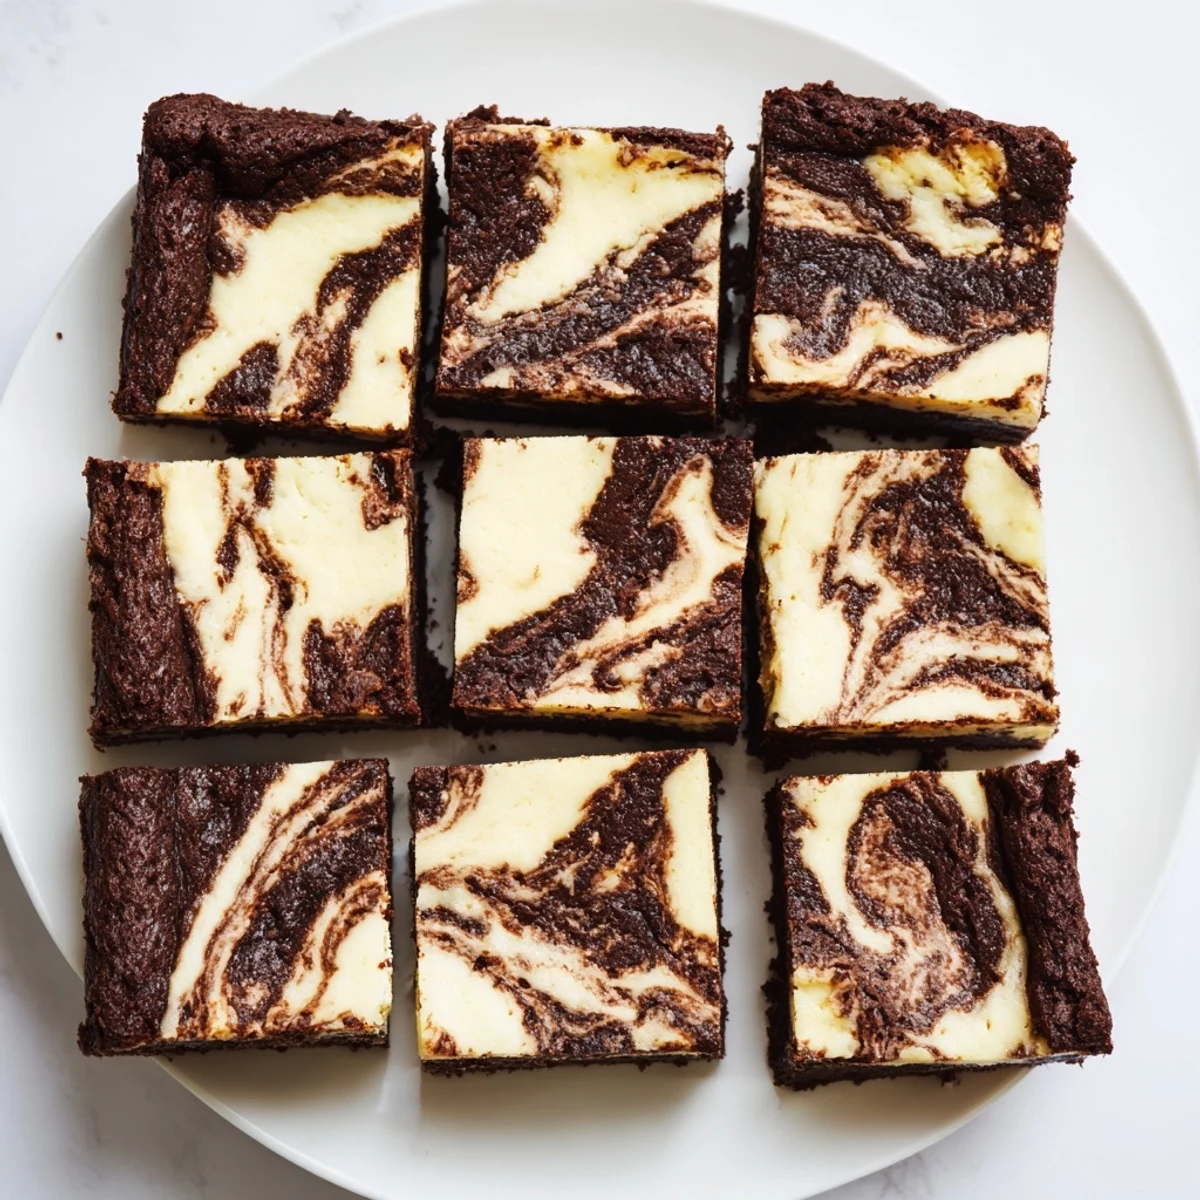
- Let the bars cool completely in the pan, then refrigerate for at least an hour before using a sharp knife to cut them into 16 tidy squares, wiping the blade between each cut.
 Save
Save The moment I lifted the parchment paper and saw those clean marbled layers staring back at me, I realized this was no longer just a discard recipe, it had become the dessert I would bring to every gathering for the rest of the year.
What to Expect From the Texture
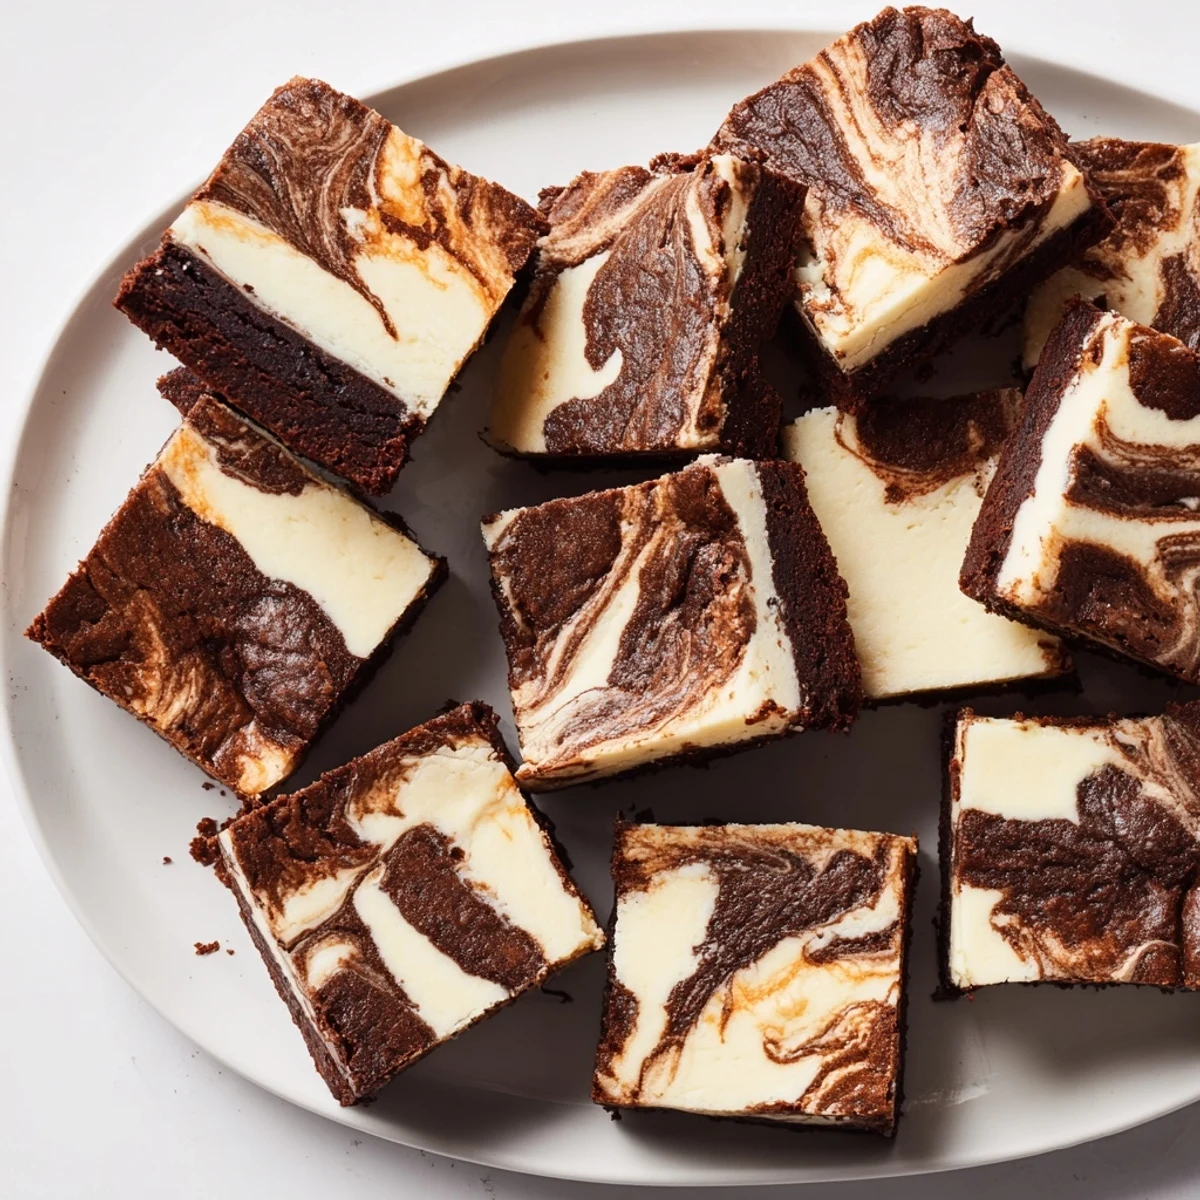
These bars live in the space between a dense truffle and a creamy cheesecake slice. The brownie layer stays moist and slightly chewy at the edges, while the cheesecake swirl sets into something soft but not jiggly. When you bite into a square that has been properly chilled, both layers yield together in a way that feels impossibly rich yet balanced by that sourdough tang running underneath everything.
Getting the Swirl Right
The marble pattern is part of the charm, and the trick is to not overthink it. Use a skewer or the handle of a wooden spoon and draw broad swooping motions rather than tight spirals, because tight swirling just muddies the two batters together into a single brownish color. Work confidently and stop after six or seven passes through the pan. The goal is distinct pockets of pale cheesecake and dark brownie, not a perfectly uniform design.
Storing and Serving
These bars are actually better on day two because the cheesecake layer firms up and the flavors settle into each other overnight. Keep them in an airtight container in the refrigerator for up to five days, though in my experience they rarely survive past day three.
- Let them sit at room temperature for fifteen minutes before serving so the brownie layer softens and the flavors wake up.
- You can freeze individual bars wrapped tightly in plastic for up to two months, which is dangerous knowledge to have.
- Always use the parchment overhang to lift the entire block out before slicing for the cleanest edges.
 Save
Save Every time I pull a fresh tray of these from the oven, I think about how the best things in my kitchen have come from refusing to throw something away. That jar of discard sitting in your fridge right now is waiting to become your new favorite dessert.
Recipe FAQs
- → Can I use active sourdough starter instead of discard?
-
Yes, you can use active starter though the texture may be slightly different. Reduce the flour by about half since active starter contains more moisture and fermentation activity.
- → Why do these need to chill before cutting?
-
Chilling allows the cheesecake layer to set completely and the flavors to meld together. This step ensures clean, neat slices without the layers smearing or falling apart.
- → How do I know when the bars are done baking?
-
The center should barely jiggle when gently shaken, and a toothpick inserted should come out with moist crumbs rather than wet batter. Overbaking will result in dry, cakey texture.
- → Can I make these gluten-free?
-
Absolutely. Substitute the all-purpose flour with a quality gluten-free 1-to-1 baking blend. Ensure your other ingredients, particularly the sourdough discard, are prepared with gluten-free flours.
- → How should I store these bars?
-
Store in an airtight container in the refrigerator for up to 5 days. The cold storage maintains the cheesecake layer's texture and prevents spoilage. They can also be frozen for up to 3 months.
- → What if I don't have sourdough discard?
-
You can simply omit it and increase the flour to 80g total. The bars will still be delicious, though you'll miss that subtle tangy depth that makes this version special.