 Save
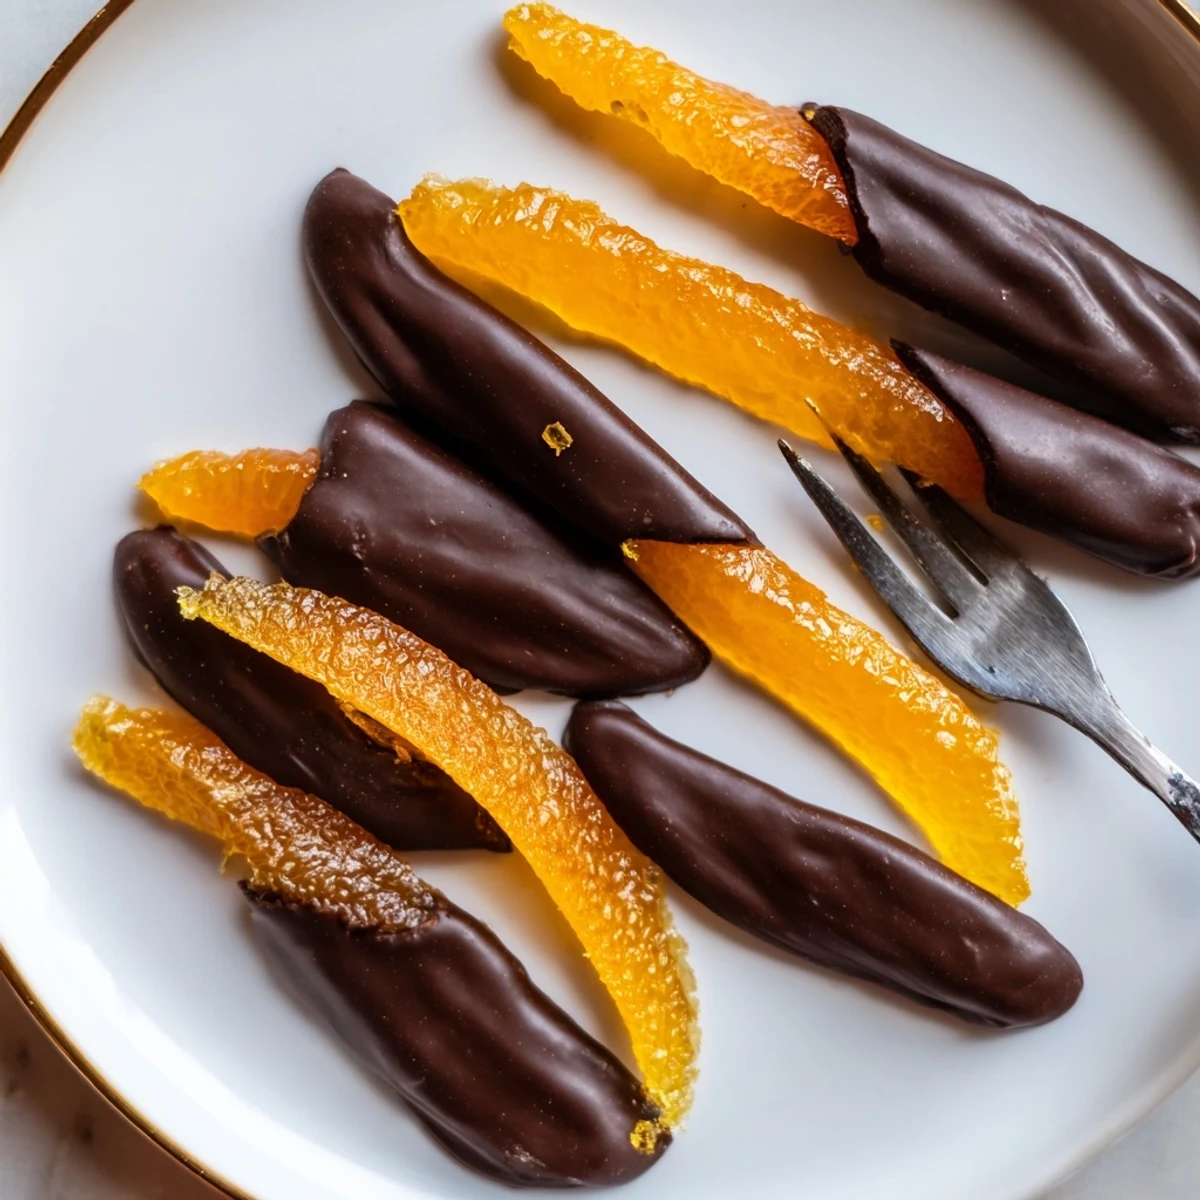
Save These chocolate covered orange peels transform simple citrus into an elegant confection. Fresh orange peels are blanched multiple times to remove bitterness, then slowly simmered in sugar syrup until translucent and tender.
Once dried, each candied strip is dipped halfway into melted dark chocolate and left to set. The result is a perfect balance of sweet, tangy citrus and rich, bittersweet chocolate.
This European classic requires patience rather than skill—most of the time is passive drying. They store beautifully in an airtight container for up to two weeks, making them ideal for homemade gifts or an after-dinner treat alongside espresso.
The smell of orange oil hitting a hot saucepan is one of those small kitchen magics that stops you mid thought and pulls you right to the stove. I started making these chocolate dipped orange peels on a rainy Tuesday when I had three sad oranges rolling around the counter and a block of dark chocolate I kept ignoring. What began as a curious experiment turned into the most requested handmade gift in my circle of friends, and honestly, I never saw that coming.
My neighbor Clara knocked on my door the week I made my second batch, holding a cup of coffee and asking what that incredible smell drifting through the hallway was. We ended up sitting at my kitchen table, peeling oranges together and talking for three hours straight while the peels slowly turned translucent in their syrup bath. She told me her grandmother used to make something similar in a tiny village in southern Italy, and I like to think this recipe carries a little bit of that warmth now.
Ingredients
- 3 large oranges, preferably organic: You need the peels, so organic really does matter here since conventional skins hold onto pesticides stubbornly, and you will taste the difference.
- 2 cups (400 g) granulated sugar: This forms the candying syrup that transforms harsh bitter strips into chewy, jewel toned treats.
- 1 cup (240 ml) water: Combined with the sugar to create the simmering bath that works slowly.
- 200 g dark chocolate (60 to 70 percent cocoa), chopped: Stay in that percentage range because anything too sweet fights the orange, and anything too bitter overwhelms it.
Instructions
- Prep the oranges:
- Wash each orange thoroughly under warm water, scrubbing gently. Slice off the top and bottom so it sits flat, score the skin into four vertical sections, and peel each section away with your thumb, keeping a fair amount of white pith attached since it gives that satisfying chew.
- Cut into strips:
- Lay each peel flat on your cutting board and slice it into strips roughly half a centimeter wide. Try to keep them somewhat even so they all candied at the same pace.
- Blanch three times:
- Drop the strips into a saucepan, cover with cold water, bring to a full rolling boil, then drain completely. Repeat this two more times, and you will notice the water becoming clearer each round as the harsh bitterness washes away.
- Simmer in syrup:
- In a clean saucepan, dissolve the sugar into the water over medium heat, stirring until you see no granules. Slide in the blanched peels, drop the heat to a gentle simmer, and let them cook uncovered for 45 to 60 minutes, stirring occasionally, until every strip looks translucent and feels tender when you pinch one.
- Dry the peels:
- Lift each strip out with tongs and arrange them on a wire rack so air can circulate all the way around. Give them at least two hours at room temperature, though leaving them overnight yields the best results, because sticky peels will ruin your chocolate coating.
- Melt the chocolate:
- Set a heatproof bowl over a pot of barely simmering water, making sure the bottom never touches the water surface. Add your chopped chocolate and stir gently, watching it transform from jagged pieces into a glossy, satiny pool that smells impossibly rich.
- Dip and set:
- Take each dried peel and dip it halfway into the melted chocolate, letting the excess drip back into the bowl with a gentle shake. Lay them carefully on a parchment lined tray and let the chocolate firm up at room temperature, or pop the tray into the fridge if you are impatient like me.
- Store properly:
- Once completely set, tuck the peels into an airtight container and keep them in a cool, dry spot. They hold their texture and flavor beautifully for up to two weeks, though mine rarely last that long.
 Save
Save The afternoon I packed these into a small kraft box with tissue paper and brought them to a dinner party, the host silently ate three before saying a word, then looked at me and asked where I had been hiding these my whole life. That moment taught me that homemade candy carries something store bought never can, a kind of care you can actually taste.
Choosing the Right Oranges
Thick skinned varieties like navel oranges work beautifully because they give you more peel to work with and that satisfying chewy bite. Blood oranges create a stunning deep red hue but have thinner skins, so adjust your expectations accordingly and handle them gently during the peeling step.
Chocolate Matters More Than You Think
I once used a cheap supermarket chocolate bar and the coating bloomed into ugly white streaks within hours, which was heartbreaking after all that candying work. Invest in a decent quality dark chocolate with simple ingredients, and your peels will reward you with a clean snap and a flavor that lingers.
Serving and Gifting Ideas
These peels elevate a simple after dinner coffee into something that feels intentional and special, especially arranged on a small plate alongside some walnuts. They also make thoughtful handmade gifts that cost very little but carry a lot of warmth.
- Roll the freshly candied peels in extra sugar before dipping for a sparkle that catches light beautifully.
- Try a pinch of flaky sea salt on the wet chocolate for a sweet salty twist that surprises people.
- Always let them come to room temperature before serving so the chocolate coating softens just enough to bite through cleanly.
 Save
Save Every time I make these, the kitchen fills with that unmistakable citrus warmth, and I think about how the simplest ingredients, patience, and a little bit of care can create something truly beautiful. Keep a batch tucked away for someone you love, or simply for yourself on a quiet afternoon.
Recipe FAQs
- → Do I need to remove all the white pith from the orange peels?
-
No, leaving a thin layer of white pith is actually desirable. It adds a pleasant texture and slight bitterness that balances the sweetness of the syrup and the richness of the dark chocolate.
- → Why do I need to blanch the peels three times?
-
Repeated blanching draws out the harsh bitterness from the pith. Each boiling cycle softens the peels further and mellows the flavor, ensuring the final candied strips taste sweet and aromatic rather than astringent.
- → Can I use milk or white chocolate instead of dark chocolate?
-
Yes, milk or white chocolate works well if you prefer a sweeter, milder coating. Keep in mind that dark chocolate (60–70% cocoa) provides the best contrast against the sweet candied peel, balancing the overall flavor beautifully.
- → How long should the candied peels dry before dipping in chocolate?
-
Allow the candied peels to dry on a wire rack for at least 2 hours at room temperature. Overnight drying yields the best results, ensuring the surface is no longer sticky so the chocolate adheres properly and sets with a clean finish.
- → What is the best way to store chocolate covered orange peels?
-
Store them in an airtight container in a cool, dry place away from direct sunlight. They will keep well for up to 2 weeks. Avoid refrigerating them long-term, as moisture can cause the chocolate to bloom and the peels to become sticky.
- → Which type of oranges work best for candied peels?
-
Large, thick-skinned oranges yield the best results because they provide substantial peel strips. Organic oranges are strongly recommended since you are using the outer skin, and conventional oranges may have pesticide residue or wax coatings that are difficult to remove completely.