 Save
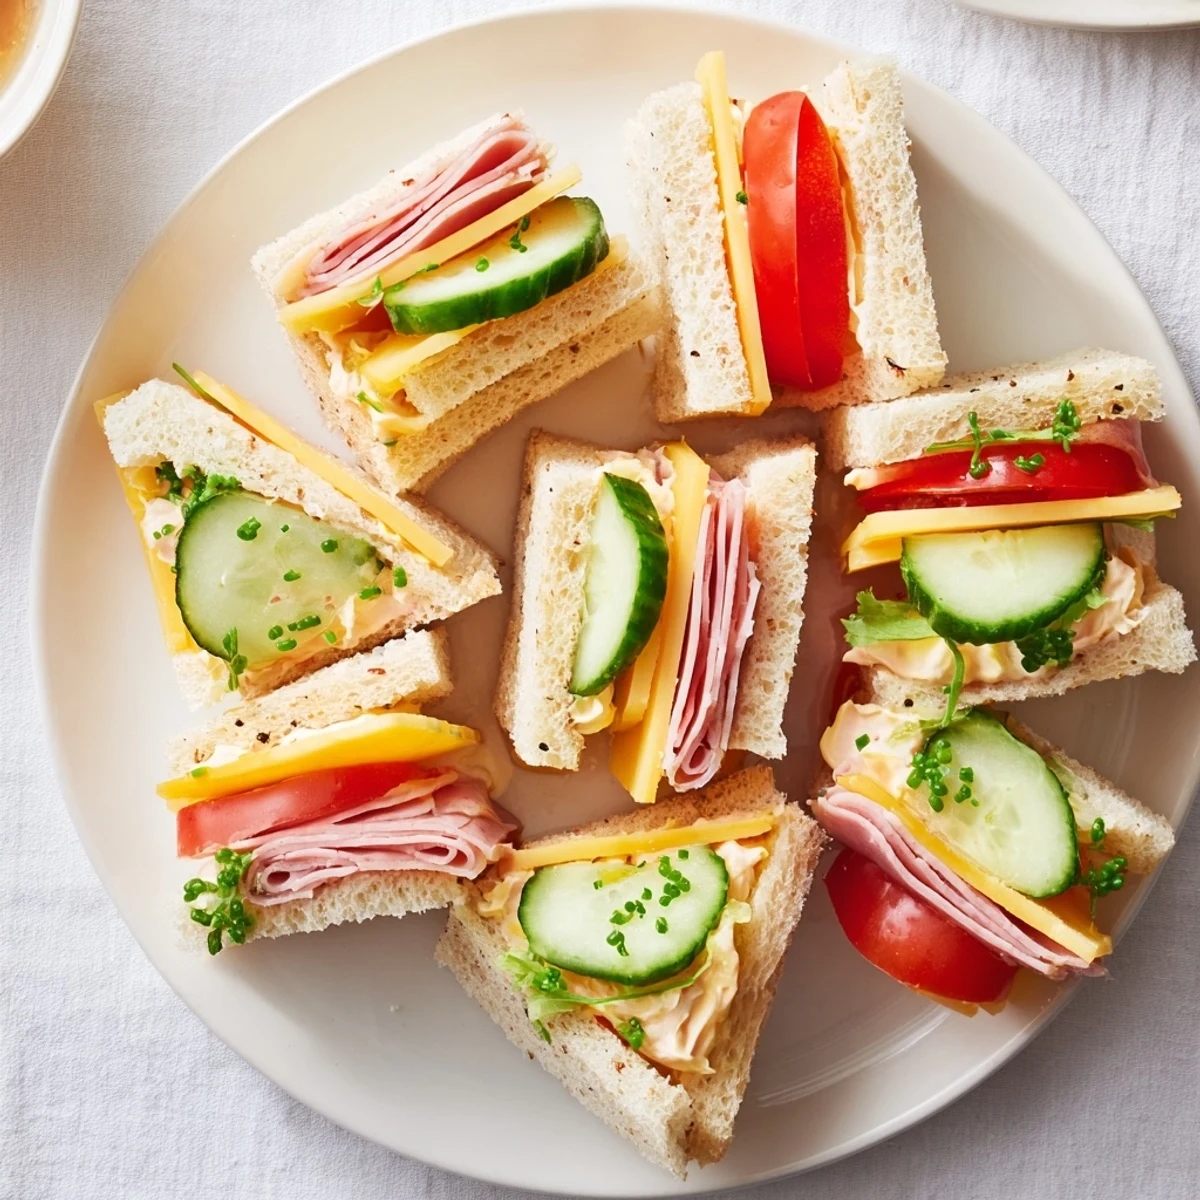
Save These mini sandwiches come together in about 20 minutes and yield 16 bite-sized pieces. Spread mayonnaise or softened cream cheese on sandwich bread, layer cheddar or deli meat on some slices and cucumber, tomato and lettuce on others. Trim crusts if desired, cut into quarters, and arrange on a platter. Store covered with a damp towel in the fridge and swap fillings like smoked salmon, egg salad, or roasted vegetables for variety.
The clink of glasses and friendly chatter always seem brighter with a platter of mini sandwiches in the center of the table. I can still recall a rainy afternoon when I hurriedly threw these together for unexpected guests, improvising with whatever fresh bits I had on hand. It’s the sort of bite that gets people reaching for seconds without even realizing. You’ll find they vanish faster than you think, no matter the crowd.
The first time I made these was for a lazy picnic in the park with friends, everyone bringing their own twist on a classic snack. I used three types of bread and watched as people debated which mini was the favorite. The sun may have set but the argument about cucumber vs. cheddar continued well into the evening. There’s always just enough room for one more of these little bites.
Ingredients
- Bread: Mix and match white, whole wheat, or even rye for different flavors and colors; I like using fresh loaves and trimming crusts for sharp edges.
- Mayonnaise: Smear it thin or thick—play with herby versions for more personality.
- Cream cheese: Let it soften first so it spreads like a dream and soaks into the bread just right.
- Cheddar cheese: Sharp slices add a salty bite that balances milder fillings; I always sneak a slice for myself.
- Ham or turkey (optional): Easy to omit, but if you do use them, roll them up tightly for better layering.
- Cucumber: Thin slices keep the sandwiches crisp and refreshing—use a mandoline if you can.
- Tomato: Pat slices dry on a towel first to avoid sogginess.
- Lettuce: Wash and pat dry so leaves stay perky; a little crunch goes a long way.
- Salt and pepper: Season lightly, taste as you go—too much and you’ll overpower the fillings.
- Fresh herbs (optional): A sprinkle of dill, chives, or parsley makes them party-ready.
- Small pickles or olives (optional): Use for garnish or tuck inside for a tangy surprise.
Instructions
- Prep Your Workspace:
- Lay out all your ingredients and tools—the simpler the setup, the smoother this goes.
- Spread the Base:
- Use a spreading knife to evenly coat each bread slice with mayonnaise or softened cream cheese; listen to it glide across the crumb.
- Create Your Layers:
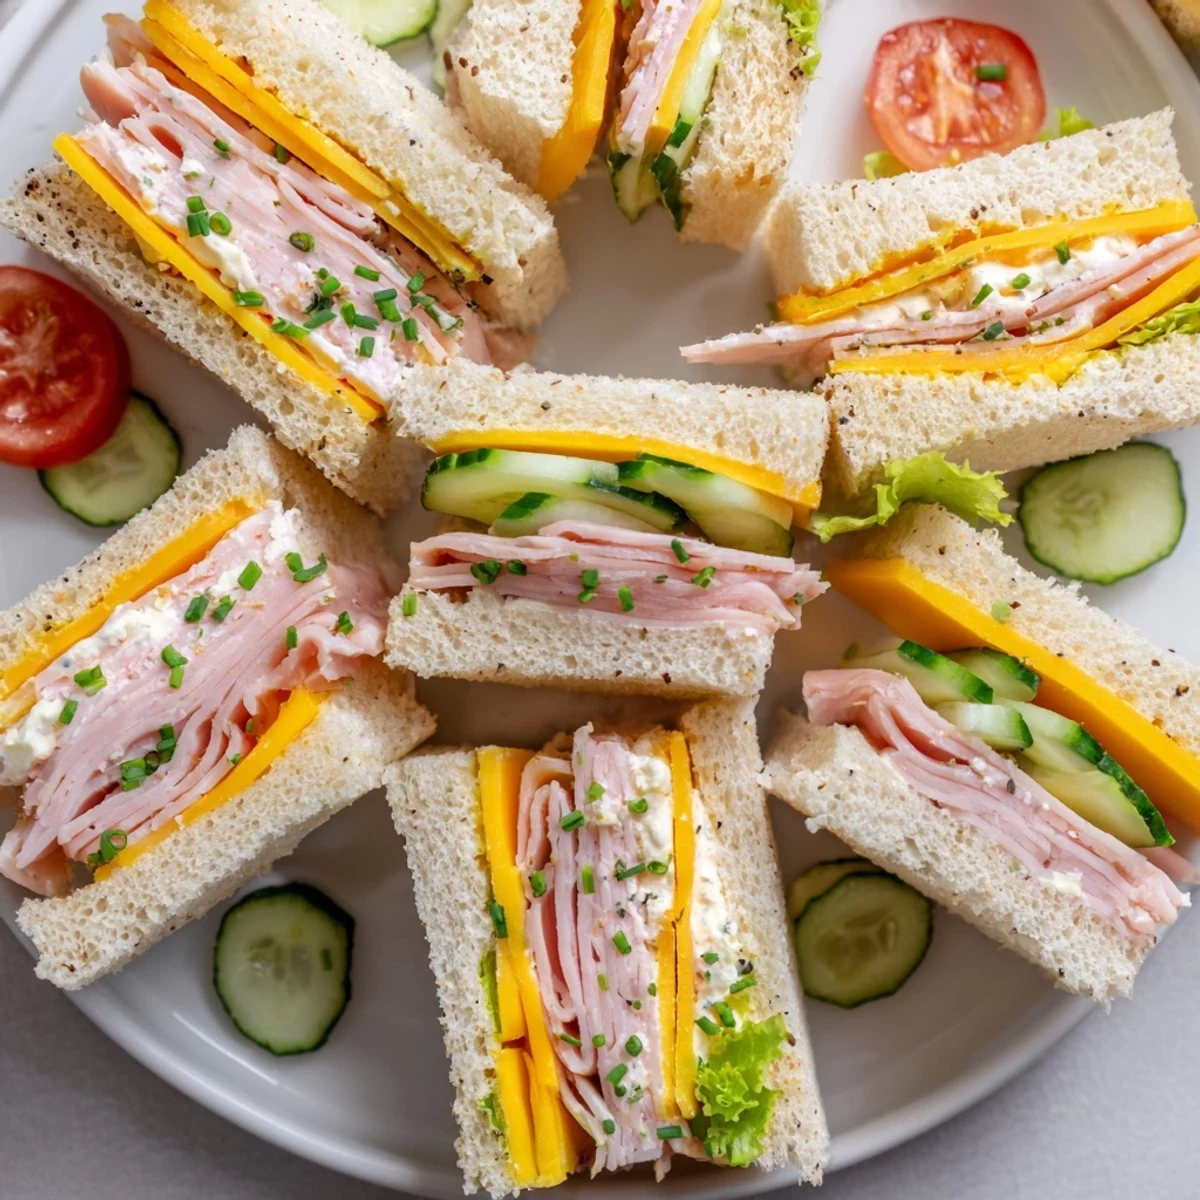
- For some sandwiches, layer on cheddar and ham or turkey; for others, add delicate cucumber, tomato, and a ruffle of lettuce, seasoning as you go.
- Build the Stack:
- Place a second slice of bread on top and gently press—just enough to keep everything together without squishing the fillings.
- Trim and Shape:
- If you want tidy edges, carefully trim the crusts off, gathering them up for snacking or breadcrumbs later.
- Cut Into Minis:
- With a sharp knife, cut each sandwich into quarters—either into neat squares or triangles, whatever feels fun.
- Add Final Touches:
- Arrange the minis on a platter and garnish with fresh herbs, pickles, or olives right before serving so they stay lively.
- Chill or Serve:
- If you need to wait, cover with a damp paper towel and refrigerate to keep them soft and fresh.
 Save
Save One birthday party, my nephew declared these sandwiches his new favorite thing—high praise from a picky eater who usually turns his nose up at “stuff touching.” That memory still makes me smile every time I pile the platter high. Now I catch him sneaking extras when he thinks no one’s looking.
Choosing Your Perfect Bread
I’ve learned there’s unexpected fun in mixing it up—pumpernickel for color, multigrain for heartiness, or classic white for nostalgia. Grocery store loaves make this a cinch, but exploring bakery breads can wow guests without extra effort. Stack them so each layer surprises with a new flavor or visual pop.
Filling Varieties To Try
If you want to surprise guests, throw in a smoked salmon twist or a swirl of roasted veggies for something special. Layering is the secret: keep moist fillings in the middle and use drier ingredients next to the bread. It keeps everything from turning mealy and lets you get inventive every time.
Entertaining Made Effortless
Once you see how quick these come together, you might start making them just for quiet lunches, not just parties. When plating, play around with height and shape—it draws people in before they even take a bite.
- Always cover with a damp towel if prepping ahead so bread stays pillowy.
- Vary garnishes for season or mood: chive blossoms in spring or rosemary in winter.
- Cut with a sawing motion, not pressing straight down, for the cleanest mini edges.
 Save
Save This is the sort of recipe that always earns compliments for surprising simplicity. I hope it brings you the same happy, crumb-laden moments it’s brought me.
Recipe FAQs
- → How can I keep mini sandwiches from drying out?
-
Cover them with a damp paper towel and plastic wrap or store in an airtight container in the refrigerator. The moisture barrier helps keep bread soft and fillings fresh for several hours.
- → What are good vegetarian filling options?
-
Try cream cheese with cucumber and dill, roasted vegetables with hummus, egg salad, or a cheddar-and-tomato combination seasoned with salt and pepper for bright, simple flavors.
- → How do I make them look attractive for a platter?
-
Trim crusts cleanly, cut sandwiches into uniform quarters, and arrange in rows or concentric circles. Garnish with finely chopped herbs or place small pickles and olives between pieces for color and contrast.
- → Can mini sandwiches be prepared ahead of time?
-
Yes — assemble, cover with a damp towel, and refrigerate for up to a few hours. Avoid adding very wet ingredients (like sliced tomatoes) until just before serving to prevent soggy bread.
- → What breads work best for bite-sized sandwiches?
-
Soft sandwich breads such as white, whole wheat, rye, or multigrain cut neatly into quarters. For visual variety, mix bread types like pumpernickel or seeded loaves.
- → How can I adapt fillings for guests with allergies?
-
Offer clearly labeled options: dairy-free spreads (avocado or hummus), gluten-free bread, and separate platters for meat and vegetarian choices. Always check ingredient labels for hidden allergens.