 Save
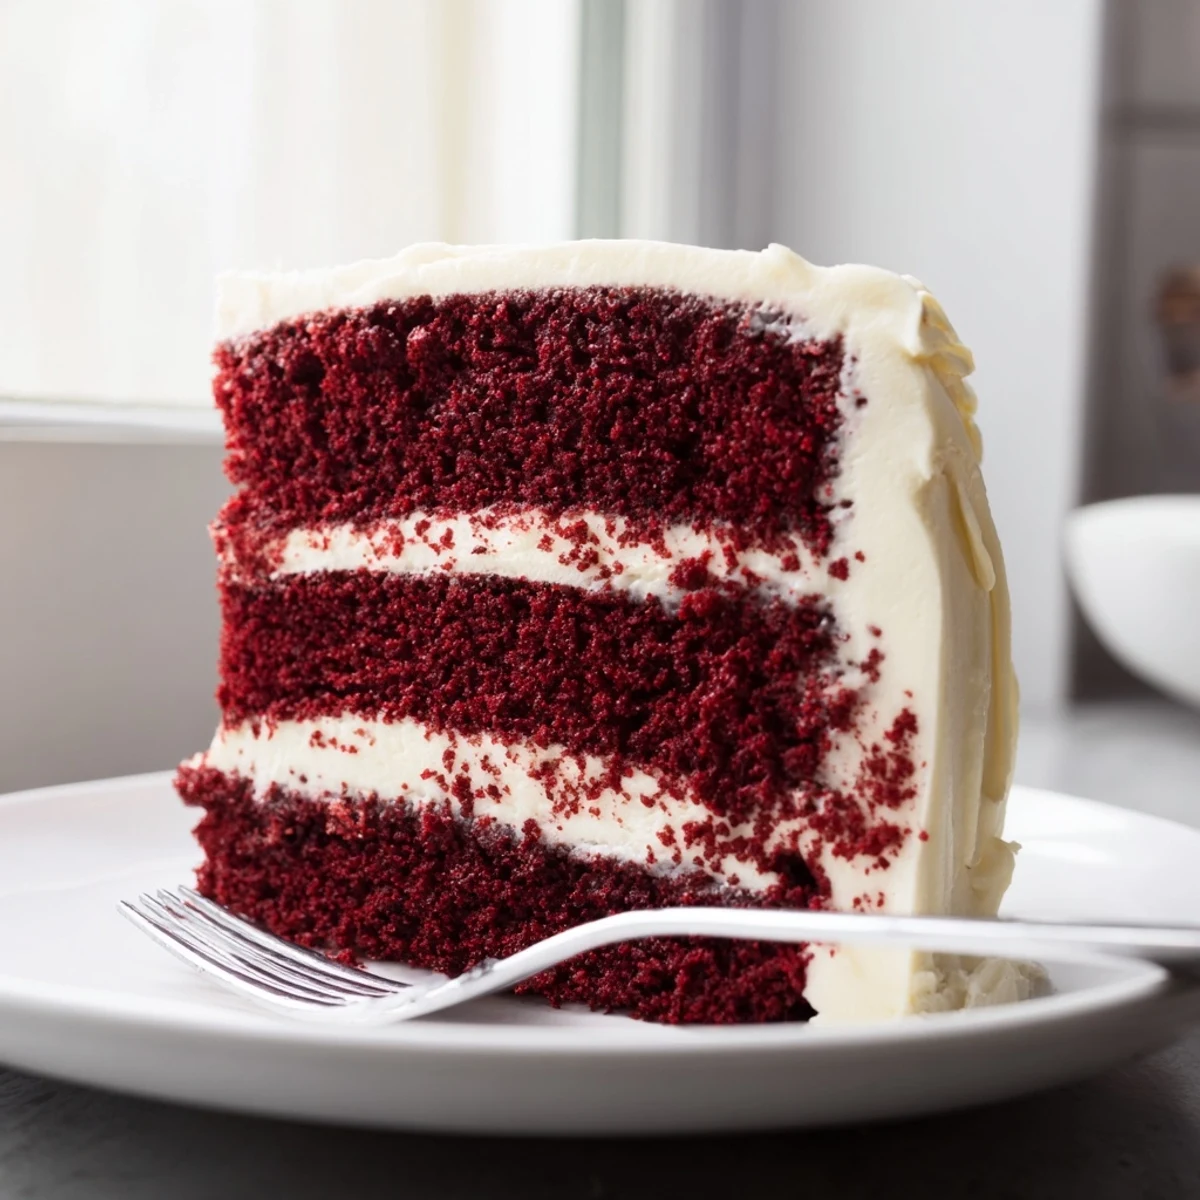
Save Create a stunning red velvet cake that delivers rich chocolate undertones and irresistible moisture. The signature crimson layers feature buttermilk and vegetable oil for ultimate tenderness, while a touch of cocoa powder provides depth without overpowering the delicate flavor profile.
The crown jewel is the luscious cream cheese frosting—smooth, tangy, and perfectly sweetened. This crowd-pleasing dessert comes together in just one hour, making it ideal for birthdays, holidays, or any special gathering that calls for something extraordinary.
I stood in my grandmother's kitchen watching her carefully measure that iconic red food coloring, fascinated by how something so vibrant could transform an ordinary cake batter into something magical. She told me red velvet was special because it sat right between chocolate and vanilla, having just enough cocoa to matter but never enough to overpower. Now whenever I make this cake, I think about her weathered hands and the way she said baking was half science, half love.
Last Valentine's Day, I made three of these cakes in one afternoon for a fundraising bake sale. People kept coming back to ask who made the red velvet, and by noon every slice was gone. Something about that velvety texture and tangy frosting makes people feel like they're eating something from a fancy bakery, not someone's home kitchen.
Ingredients
- All-purpose flour: The structure builder here, sift it well to avoid any lumps in your final crumb
- Granulated sugar: Sweetens while keeping the texture tender and the crumb fine
- Baking soda: Works with the vinegar to create that signature rise and velvet-like texture
- Fine salt: Enhances the chocolate flavor without making the cake taste salty
- Unsweetened cocoa powder: Just enough to give depth without turning this into a full chocolate cake
- Vegetable oil: Keeps the cake incredibly moist compared to butter-based versions
- Buttermilk: The secret to tenderness and that subtle tang that balances the sweetness
- Large eggs: Must be room temperature to emulsify properly with the oil
- Red food coloring: The classic red hue that makes this cake instantly recognizable
- Vanilla extract: Rounds out all the flavors and adds that comforting bakery aroma
- White vinegar: Reacts with baking soda for extra lift and enhances the red color
- Cream cheese: Use full-fat and completely softened for the silkiest frosting
- Unsalted butter: Adds richness to the frosting while letting you control the salt level
- Powdered sugar: Sift it first or your frosting will have lumps no matter how much you beat it
Instructions
- Prep your pans and oven:
- Preheat oven to 350°F (175°C) and generously grease two 9-inch round cake pans, then dust with flour for easy release
- Mix the dry ingredients:
- Sift flour, sugar, baking soda, salt, and cocoa powder into a medium bowl to ensure everything is light and lump-free
- Whisk the wet ingredients:
- In a large bowl, combine oil, buttermilk, eggs, food coloring, vanilla, and vinegar until completely smooth
- Combine everything:
- Gradually add dry ingredients to wet, mixing gently just until no flour streaks remain
- Bake the layers:
- Divide batter evenly between pans and bake for 28 to 30 minutes until a toothpick comes out clean
- Cool completely:
- Let cakes rest in pans 10 minutes, then turn onto a wire rack until completely cool before frosting
- Make the frosting:
- Beat softened cream cheese and butter until smooth, then gradually add sifted powdered sugar with vanilla and a pinch of salt
- Frost like a pro:
- Place one layer on your plate, spread frosting generously, top with second layer, then frost top and sides
- Chill for clean slices:
- Refrigerate 30 minutes before cutting to get those picture-perfect restaurant-style slices
 Save
Save My sister requested this exact cake for her wedding instead of a traditional tiered cake. We made it in sheet pans and served it on rustic wooden boards, and guests are still talking about it three years later. Sometimes the simplest recipes become the most memorable.
Making It Ahead
You can bake the cake layers up to two days ahead, wrap them tightly in plastic, and store at room temperature. The frosting can be made 24 hours in advance and kept refrigerated, but bring it to room temperature before spreading.
Getting That Perfect Red
Natural red food coloring gives the best results without any aftertaste. Gel coloring works better than liquid since you need less to achieve that deep red hue that makes red velvet so striking.
Serving Suggestions
This cake is stunning on its own, but fresh berries or a dusting of cocoa powder on top add extra elegance. For holidays, I sometimes add edible pearls or a light sprinkle of gold dust for celebration-worthy presentation.
- Serve slightly chilled or at room temperature, never cold from the fridge
- Use a hot knife for the cleanest slices between layers
- Store any leftovers covered in the refrigerator for up to five days
 Save
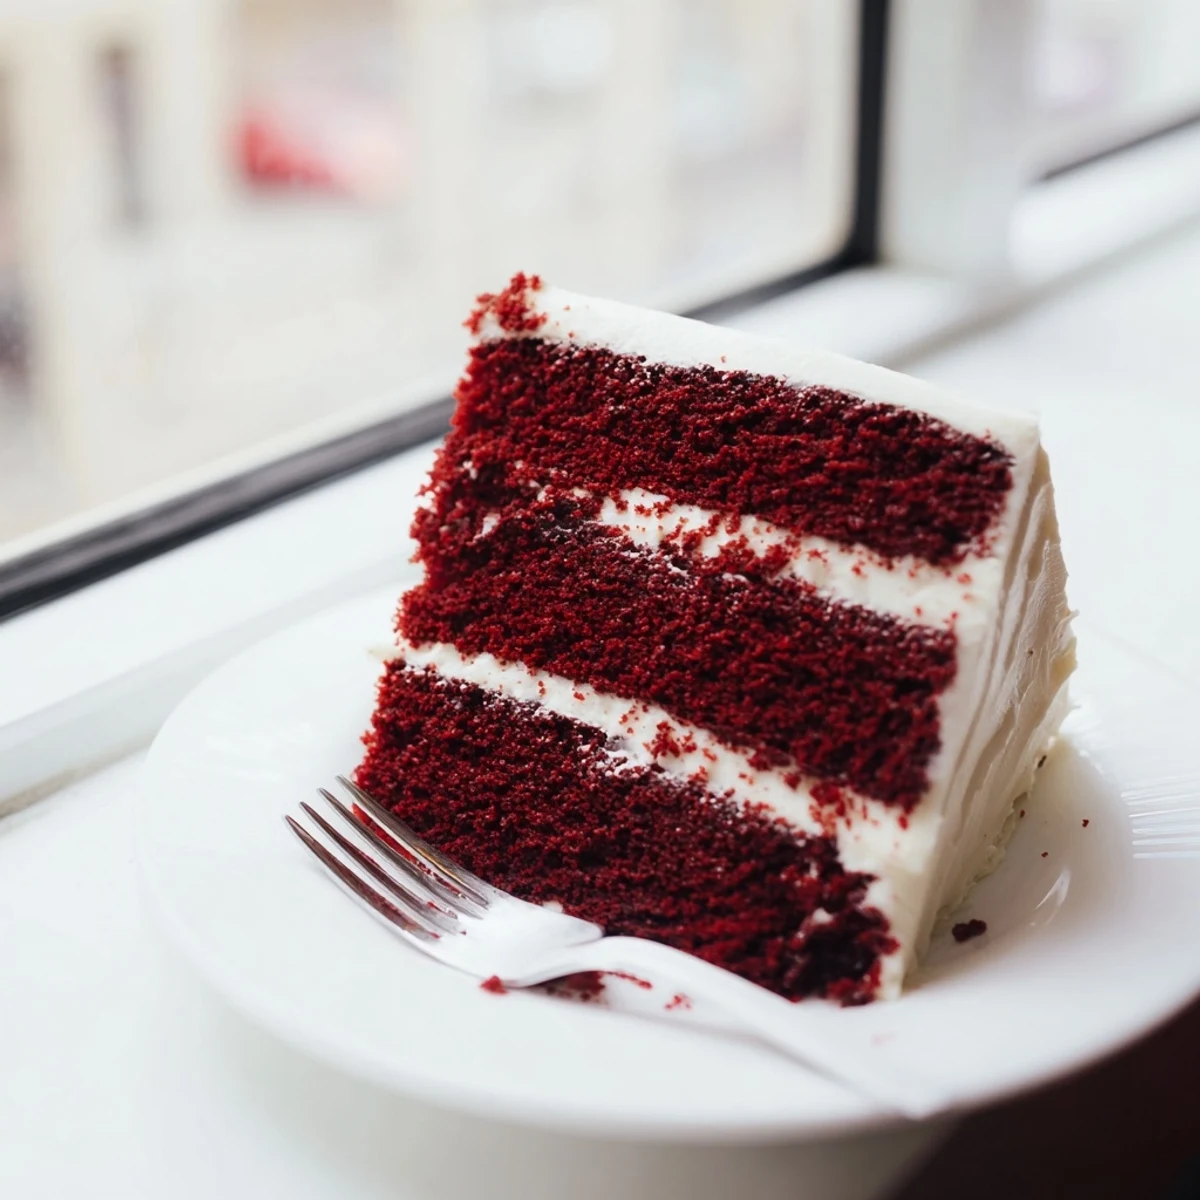
Save Every time I pull a red velvet cake from the oven, that gorgeous red color against the white frosting still makes me smile. Some classics become classics for a reason.
Recipe FAQs
- → What makes red velvet cake different from chocolate cake?
-
Red velvet cake uses less cocoa powder than traditional chocolate cake, resulting in a milder chocolate flavor. The buttermilk and vinegar react with baking soda to create a tender, velvety texture. The characteristic red color comes from food coloring, though some recipes incorporate natural cocoa which reacts with acid to create a reddish hue.
- → Can I make red velvet cake ahead of time?
-
Yes! The unfrosted cake layers can be wrapped in plastic and stored at room temperature for up to 2 days or frozen for up to 3 months. Thaw frozen layers overnight before frosting. The frosted cake keeps well in the refrigerator for 3-4 days—bring to room temperature 30 minutes before serving for the best texture and flavor.
- → Why is my red velvet cake dry?
-
Overbaking is the most common cause of dryness. Start checking for doneness at 25 minutes—the cake is done when a toothpick comes out with just a few moist crumbs. Using room-temperature ingredients ensures proper emulsion, while measuring flour correctly prevents excess dry ingredients. The oil in this recipe helps maintain moisture better than butter alone.
- → Can I use natural food coloring instead of red dye?
-
Natural options like beet juice or pomegranate juice can provide red color, though the results vary. Beet powder dissolved in water creates a vibrant hue, while boiled beet puree adds moisture and subtle earthiness. Keep in mind that natural alternatives may produce a more muted color compared to concentrated food coloring.
- → How do I get smooth cream cheese frosting?
-
Ensure both cream cheese and butter are completely softened to room temperature—this prevents lumps. Beat them together until thoroughly combined before adding powdered sugar. Sift the sugar first to avoid any gritty texture. Mix on medium speed for 2-3 minutes after adding all ingredients to achieve that perfectly fluffy, spreadable consistency.