 Save
Save Fresh diced strawberries are simmered with sugar and lemon until they soften and release juices, then a cornstarch slurry is added and cooked until glossy. The process takes about 15 minutes of cooking and yields roughly 2 cups, enough for a 9-inch layer. Cool to thicken, adjust sweetness to taste, and refrigerate up to five days. Mash or blend for a smoother texture.
There&s this faint, sweet scent that fills the kitchen when strawberries hit a warm saucepan—it always makes me pause. Making a strawberry cake filling never felt complicated to me, but the magical way the house smells while it simmers is half the reason I make extra. Sometimes I catch myself swiping a finger along the spoon for a taste before it even cools. There&s a quiet thrill in knowing you&ve made something from scratch that transforms even simple cakes.
I first whipped this up on a casual afternoon when my neighbor dropped off a bucket of extra strawberries from her garden. We ended up laughing in the kitchen over splatters of red juice and the way the warm filling clung to our spoons. That impromptu cake turned into a neighborhood favorite, sparking requests and lots of happy messes since.
Ingredients
- Fresh strawberries: Choose the ripest berries you can find—overripe ones are perfect, just dice them up small so they melt faster.
- Granulated sugar: This draws out the strawberry juice and balances tartness; I&ve found a little more is all it takes if your berries are extra tangy.
- Lemon juice: Brightens the filling and keeps the flavor lively without overwhelming sweetness.
- Cornstarch: My trick for getting just the right thickness—mix it very well with water to avoid lumps.
- Water: Allows the cornstarch to dissolve fully before you stir it into the simmering berries.
- Pure vanilla extract (optional): A splash at the end takes this from fruity to downright fragrant, but skip it if you want unfiltered berry shine.
Instructions
- Prep the berries:
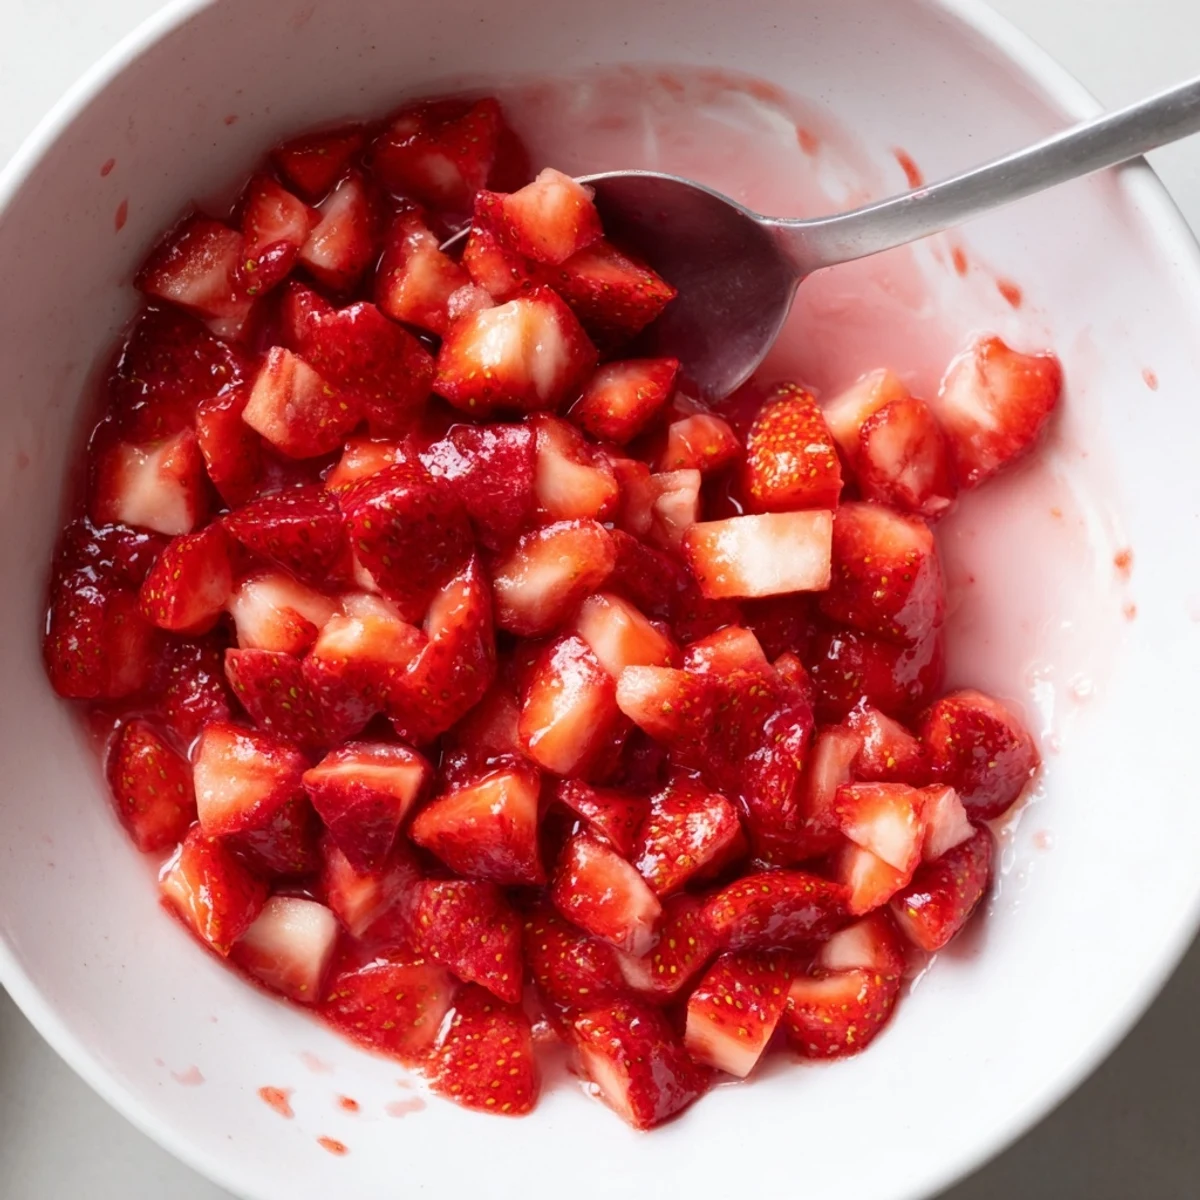
- Hull and dice the fresh strawberries—you&ll want them bite-sized so they melt evenly into the filling.
- Start the base:
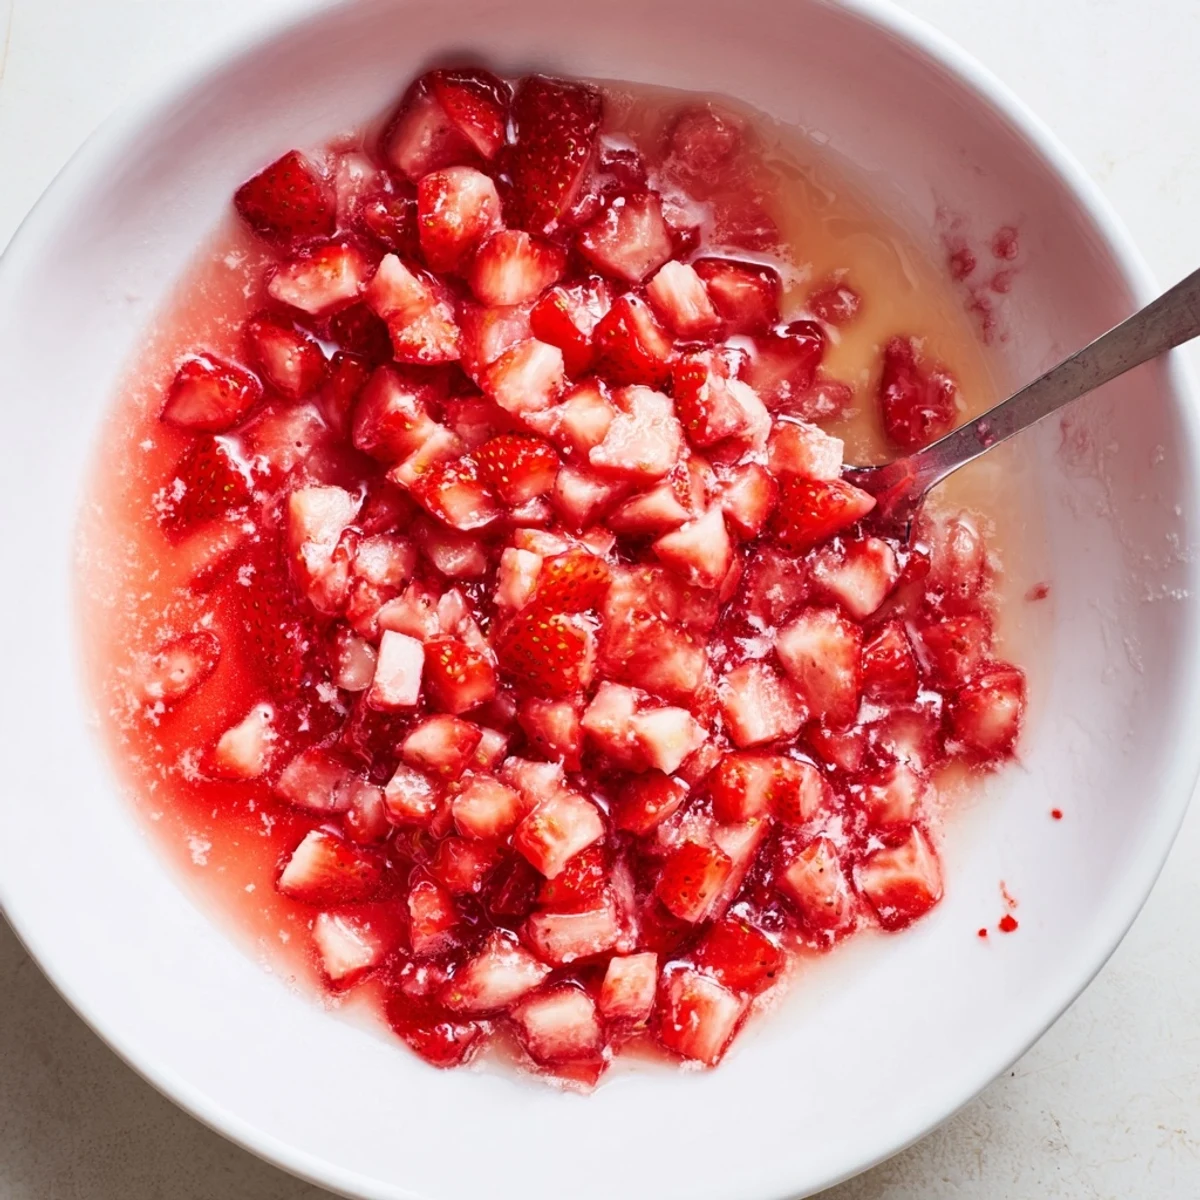
- Combine strawberries, sugar, and lemon juice in a medium saucepan, stirring to coat every piece so the sugar begins to dissolve.
- Simmer gently:
- Heat over medium, listening for that soft bubbling, and stir occasionally for about 5-7 minutes as the berries collapse and release juice.
- Mix the thickener:
- Whisk cornstarch and water together in a small bowl until smooth—be sure there&aposs no powder left clinging to the sides.
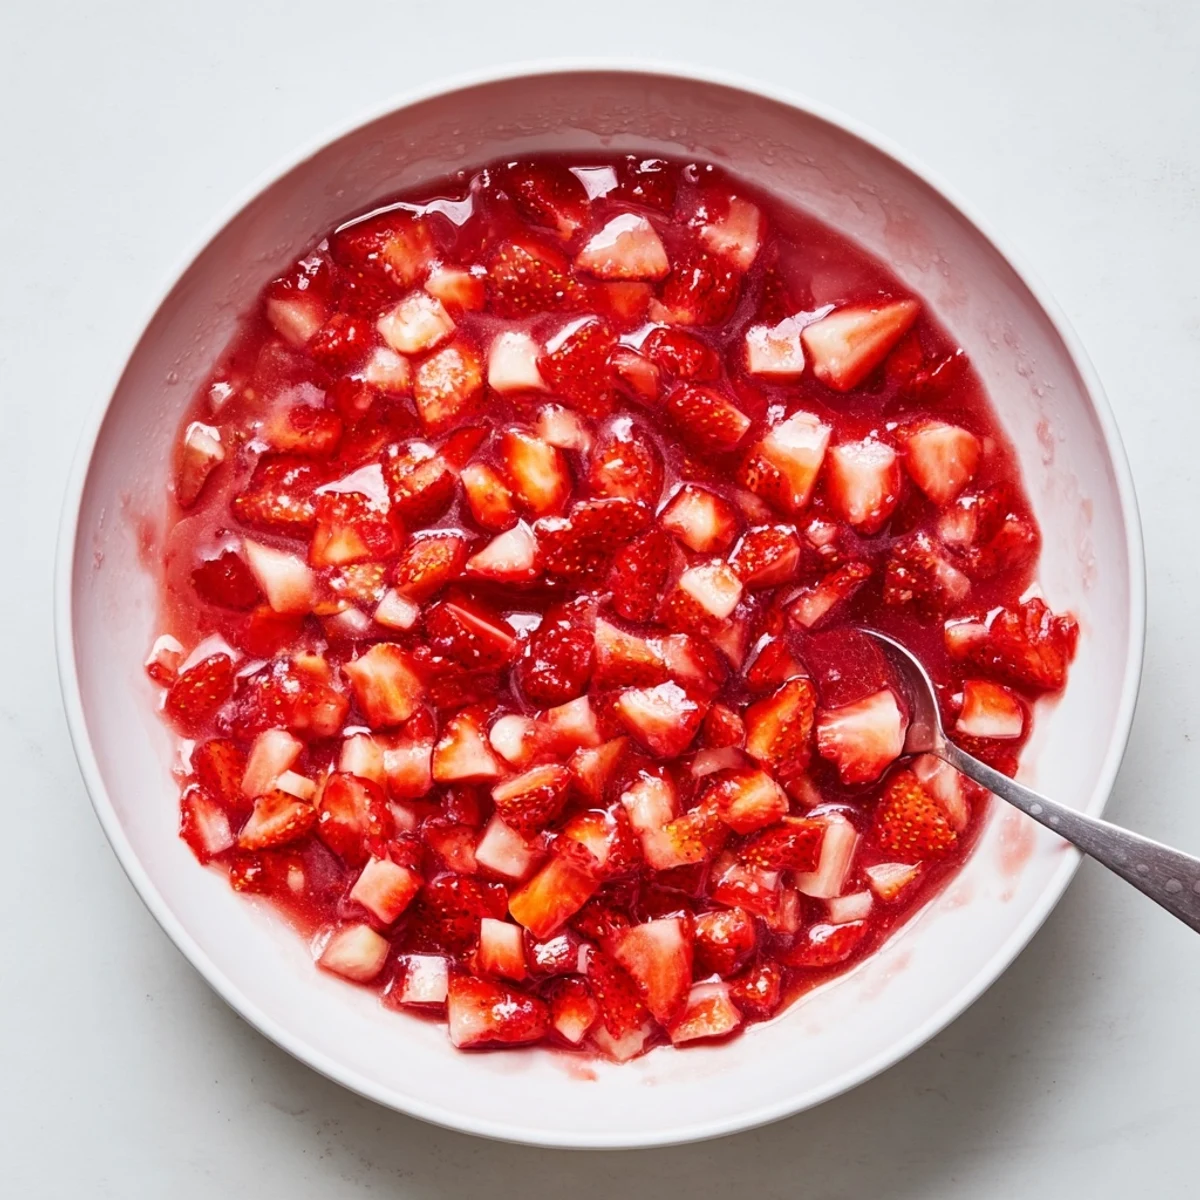
- Thicken it up:
- Pour in the cornstarch mixture, then stir constantly as the filling quickly turns glossy and thick, about 3-5 minutes more.
- Finish and cool:
- Remove from heat, add vanilla if you like, then allow the mixture to cool fully—it thickens up even more as it sits, showing those ribbons when you drag a spoon through.
 Save
Save The best feeling comes when I lift the saucepan and pour a gleaming stripe of fresh filling across a cake—it feels like painting with flavor. Once, my niece decided to swirl some into her yogurt and declared it tasted like strawberry clouds, and I couldn&t help but agree.
The Secret to a Perfectly Smooth Filling
I learned quickly that if I wanted that silky, bakery-style finish, I had to mash the strawberries just enough. A fork or an immersion blender gets those last chunky bits out without turning it into jam—and that smoothness makes a difference especially when layering cakes or filling cupcakes.
What to Do With Leftover Filling
Strawberry filling rarely lasts long in our house, but on those rare occasions, I&ve swirled it into oatmeal, spooned it atop pancakes, or even tucked it between layers of a breakfast parfait. Refrigerated, it keeps beautifully for a few days, and somehow tastes even brighter the next morning.
Troubleshooting & Last-Minute Tips
Don&apost panic if your filling looks too thin at first—it will thicken dramatically as it cools. If you overcook, a tablespoon of water whisked in off the heat can loosen it right up. Taste as you go and adjust lemon or sugar if your strawberries are especially tart or sweet.
- Try swapping in raspberries or blueberries for a fun twist.
- If using frozen berries, thaw and drain them before starting.
- Always cool before using in cakes to avoid soggy layers.
 Save
Save Homemade strawberry filling has a way of brightening up any cake and mood. Share it generously—you might find yourself inventing reasons to make another batch soon.
Recipe FAQs
- → How do I thicken the filling without changing flavor?
-
Use a cornstarch slurry (cornstarch mixed with cold water) and stir it into the hot fruit. Cook until glossy and slightly translucent; this preserves the fresh strawberry flavor while creating a stable filling.
- → Can I use frozen strawberries instead of fresh?
-
Yes. Thaw and drain excess liquid first, then cook as directed. Frozen berries release more juice, so you may need a touch more cornstarch to reach the same thickness.
- → How smooth should the filling be for layering?
-
That depends on texture preference. Leave it chunky for bites of fruit, mash with a fork for a rustic spread, or use an immersion blender for a silky, uniform filling that spreads evenly between layers.
- → How long does the filling keep in the fridge?
-
Stored in an airtight container, it will keep up to five days. For best texture, bring to room temperature briefly or stir gently before using; it firms up as it chills.
- → Can I swap strawberries for other berries?
-
Absolutely. Raspberries, blueberries, or mixed berries work well; adjust sugar and lemon to balance sweetness and acidity for the chosen fruit.
- → How can I prevent the filling from making cake layers soggy?
-
Ensure the filling is fully cooled and slightly thickened before assembling. A thin barrier of buttercream or ganache on the cake layer can also help seal in moisture and prevent seepage.