Save
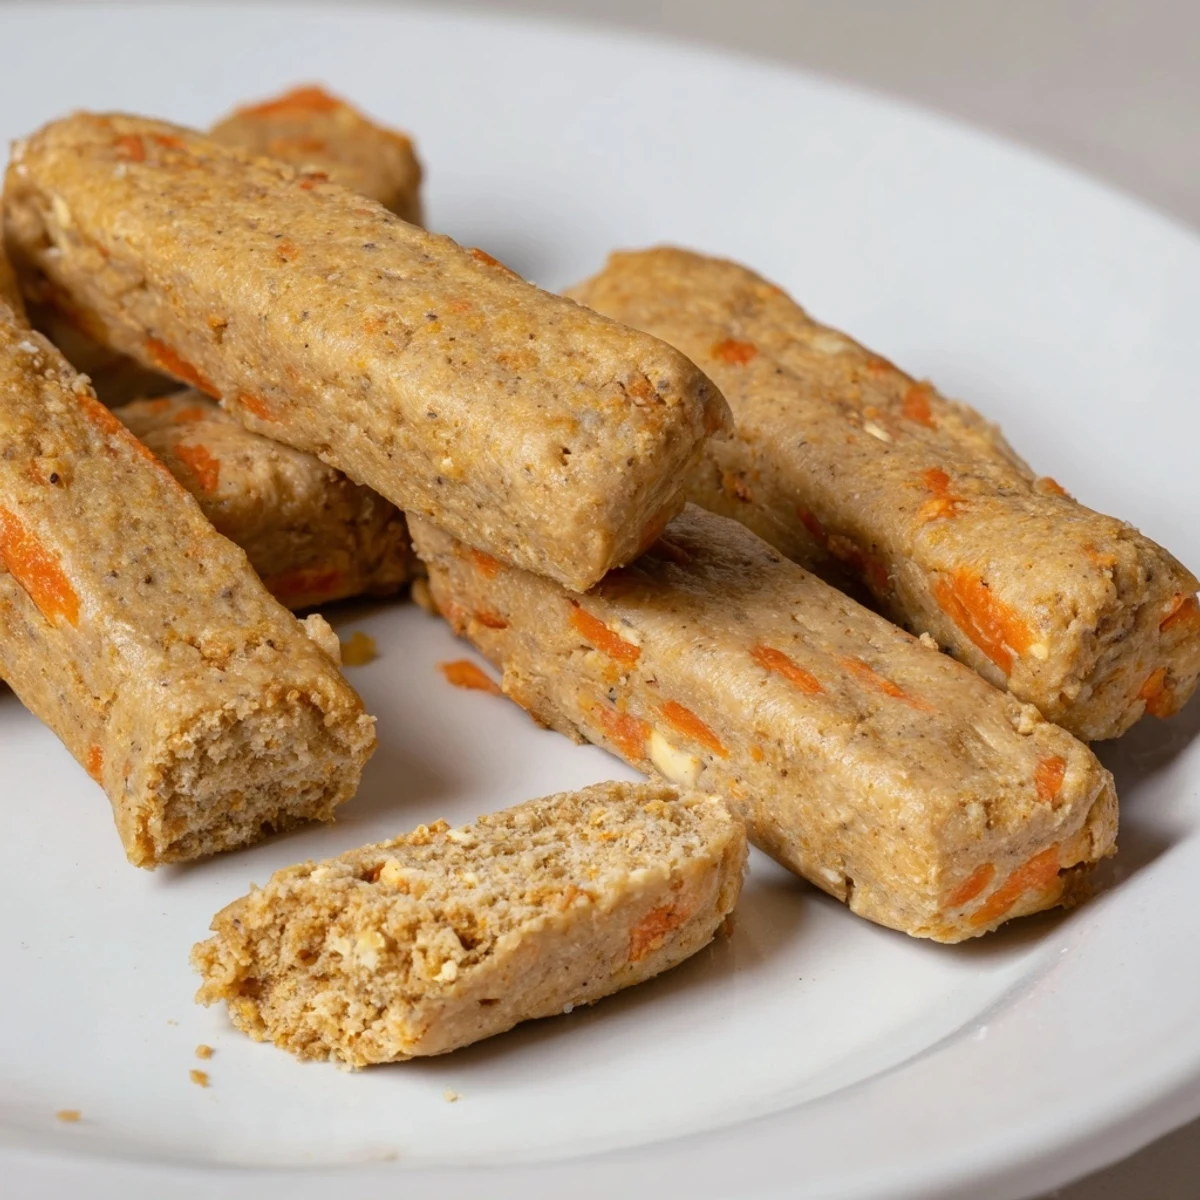
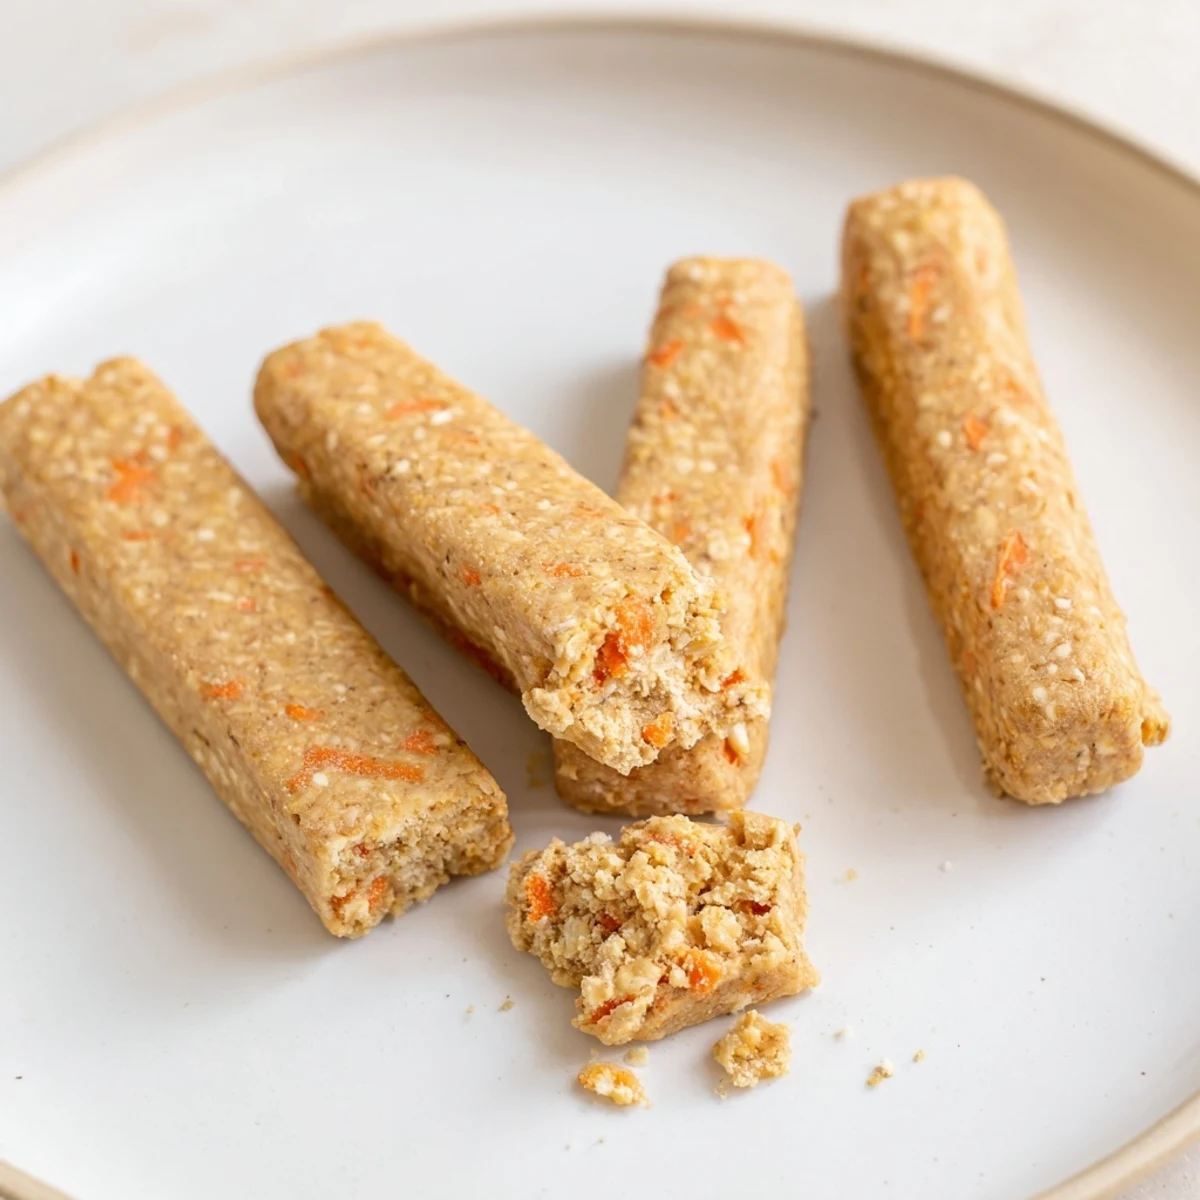
Save These wholesome chew sticks combine fresh apples and grated carrots with whole wheat flour and oats for a nutritious dog treat your pup will love. The dough comes together quickly and bakes into firm, satisfying chews that help keep dogs busy while providing vitamins and fiber. With just 15 minutes of prep and 45 minutes in the oven, you'll have 16 stick treats ready for your furry friend. Store them in an airtight container for up to a week, or freeze extras for later. These vegetarian, gluten-free adaptable chews are perfect for dogs who love to gnaw and chew.
The first time my golden retriever Barnaby tried these, he actually did a little hop of excitement. I had been buying expensive dental chews for years until my vet mentioned how simple homemade treats could be just as effective. Now every Sunday morning becomes a mini production line in my kitchen, with Barnaby hovering attentively by the oven door.
My sister came over last month with her rescue dog who is typically terrified of new foods. Within minutes of trying these carrot apple sticks, this anxious pup was carrying one around like a prize. Now she texts me weekly asking if I have any more happy sticks available.
Ingredients
- 1 medium apple: The natural sweetness makes these irresistible while providing fiber and vitamins your dog needs
- 1 medium carrot: Adds crunch and beta carotene while helping create that chewy texture dogs love
- 2 cups whole wheat flour: Forms the base structure, though oat flour works beautifully for sensitive tummies
- ½ cup rolled oats: Gives the sticks body and a wholesome heartiness store bought treats lack
- 1 large egg: Binds everything together while adding protein for a nutritionally balanced snack
- ⅓ cup unsweetened applesauce: Provides moisture and natural sweetness without any added sugars
- 2 tbsp water: Adjust as needed to achieve the perfect dough consistency
Instructions
- Preheat your creative space:
- Set your oven to 350°F and line a baking sheet with parchment paper to prevent sticking
- Combine the fresh ingredients:
- Mix the grated apple and carrot with flour and oats in a large bowl until evenly distributed
- Bring the dough together:
- Add the egg and applesauce, stirring until a dough forms, adding water only if needed for the right consistency
- Shape your happy sticks:
- Roll the dough into 4 inch sticks about half an inch thick, keeping sizes uniform for even baking
- Bake to golden perfection:
- Place sticks on your prepared sheet and bake for 40 to 45 minutes until firm and golden brown
- Create extra crunch:
- Turn off the oven and let the sticks cool inside for an additional hour to maximize that satisfying chewiness
- The patience test:
- Allow to cool completely before watching your pup discover their new favorite treat
 Save
Save Last Christmas I made batches of these as gifts for all my dog loving friends. The feedback photos were hilarious, dogs carrying their sticks around like treasures or falling asleep next to them protectively.
Making Them Your Way
I have discovered that switching between apple and carrot based on what is in season keeps my dogs interest high. Sometimes I add a sprinkle of cinnamon if we are feeling fancy, though the classic version remains Barnabys absolute favorite.
Storage Solutions
These freeze beautifully, which means I can make double batches and always have treats ready. I portion them into small freezer bags labeled with the date, pulling out what I need every few days.
Sizing Adjustments
For smaller dogs, I make thinner shorter sticks that are easier to manage. Larger breeds might appreciate thicker sturdier chews that last longer.
- Use a sharp knife to score the dough before baking if you want to break them into smaller portions later
- Watch your dog the first few times they try these to ensure they chew properly
- Consider making bite sized training treats from the same dough by rolling tiny balls instead
 Save
Save There is something special about making treats for your furry friend with your own hands. Every tail wag and happy bark makes those 15 minutes of prep absolutely worth it.
Recipe FAQs
- → How long do these chew sticks stay fresh?
-
Store the chew sticks in an airtight container at room temperature for up to one week. For longer storage, place them in the freezer where they'll keep for several months. Thaw frozen treats before serving to your pup.
- → Can I substitute the flour for dogs with wheat allergies?
-
Absolutely! Replace the whole wheat flour with gluten-free oat flour or a dog-safe gluten-free flour blend. This makes the treats suitable for dogs with wheat sensitivities while maintaining the same texture and chewing satisfaction.
- → Why should I let the sticks cool in the oven?
-
Leaving the chew sticks in the turned-off oven for an extra hour helps them dry out further, creating a firmer, crunchier texture that lasts longer when your dog chews them. This step is optional but recommended for maximum durability.
- → What size should I roll the sticks for small dogs?
-
For smaller breeds, roll the dough into shorter, thinner sticks—about 3 inches long and ¼ inch thick. Adjust baking time to 30-35 minutes for smaller pieces. Always supervise your dog to ensure they're chewing safely.
- → Can I add other vegetables to this recipe?
-
Yes! Dog-safe vegetables like sweet potato, pumpkin, or zucchini work well. Keep the total amount of grated vegetables the same (about 1 cup) to maintain the proper dough consistency. Avoid onions, garlic, or other toxic ingredients.
- → How do I know when the chew sticks are done baking?
-
The sticks should be golden brown on the outside and feel firm to the touch. They shouldn't be soft or doughy. Break one open to check—it should be dry throughout, not moist or sticky in the center.